The post Chicken Adobo + Edamame Rice appeared first on I Forgot Salt!.
]]>
Back in March, I made this chicken adobo recipe twice in two weeks, with several lunches of leftovers in-between. I’ve had the recipe and photos sitting in my drafts since then, half-forgotten as everyday life began taking over more and more of my time. Quite a lot has happened in the past two and a half months! As a start, I received my acceptance letter to JMU (!!!) here in Virginia, finished up my final semester of community college, and began my first JMU summer term online. Alex is in the process of changing jobs, and we’re both in the process looking for new apartments as it seems we’ll need to be in two different places for the time being.
In the meantime, too, I’ve done quite a bit of cooking! Although taking the time to photograph and blog about my kitchen adventures definitely fell by the wayside with the stress of school and life changes, I never stopped exploring new culinary delights. From veggie burgers to lemon shrimp pesto crostini, vegan buffalo chickpea wraps to vegetable fritters, tofu peanut quoina salad to a huevos rancheros-adjacent breakfast skillet we’ve affectionately named “hot with beans” (and more), I have continued to play with my food while in social isolation. I will definitely be recreating the most successful of my experiments to post in the coming weeks!
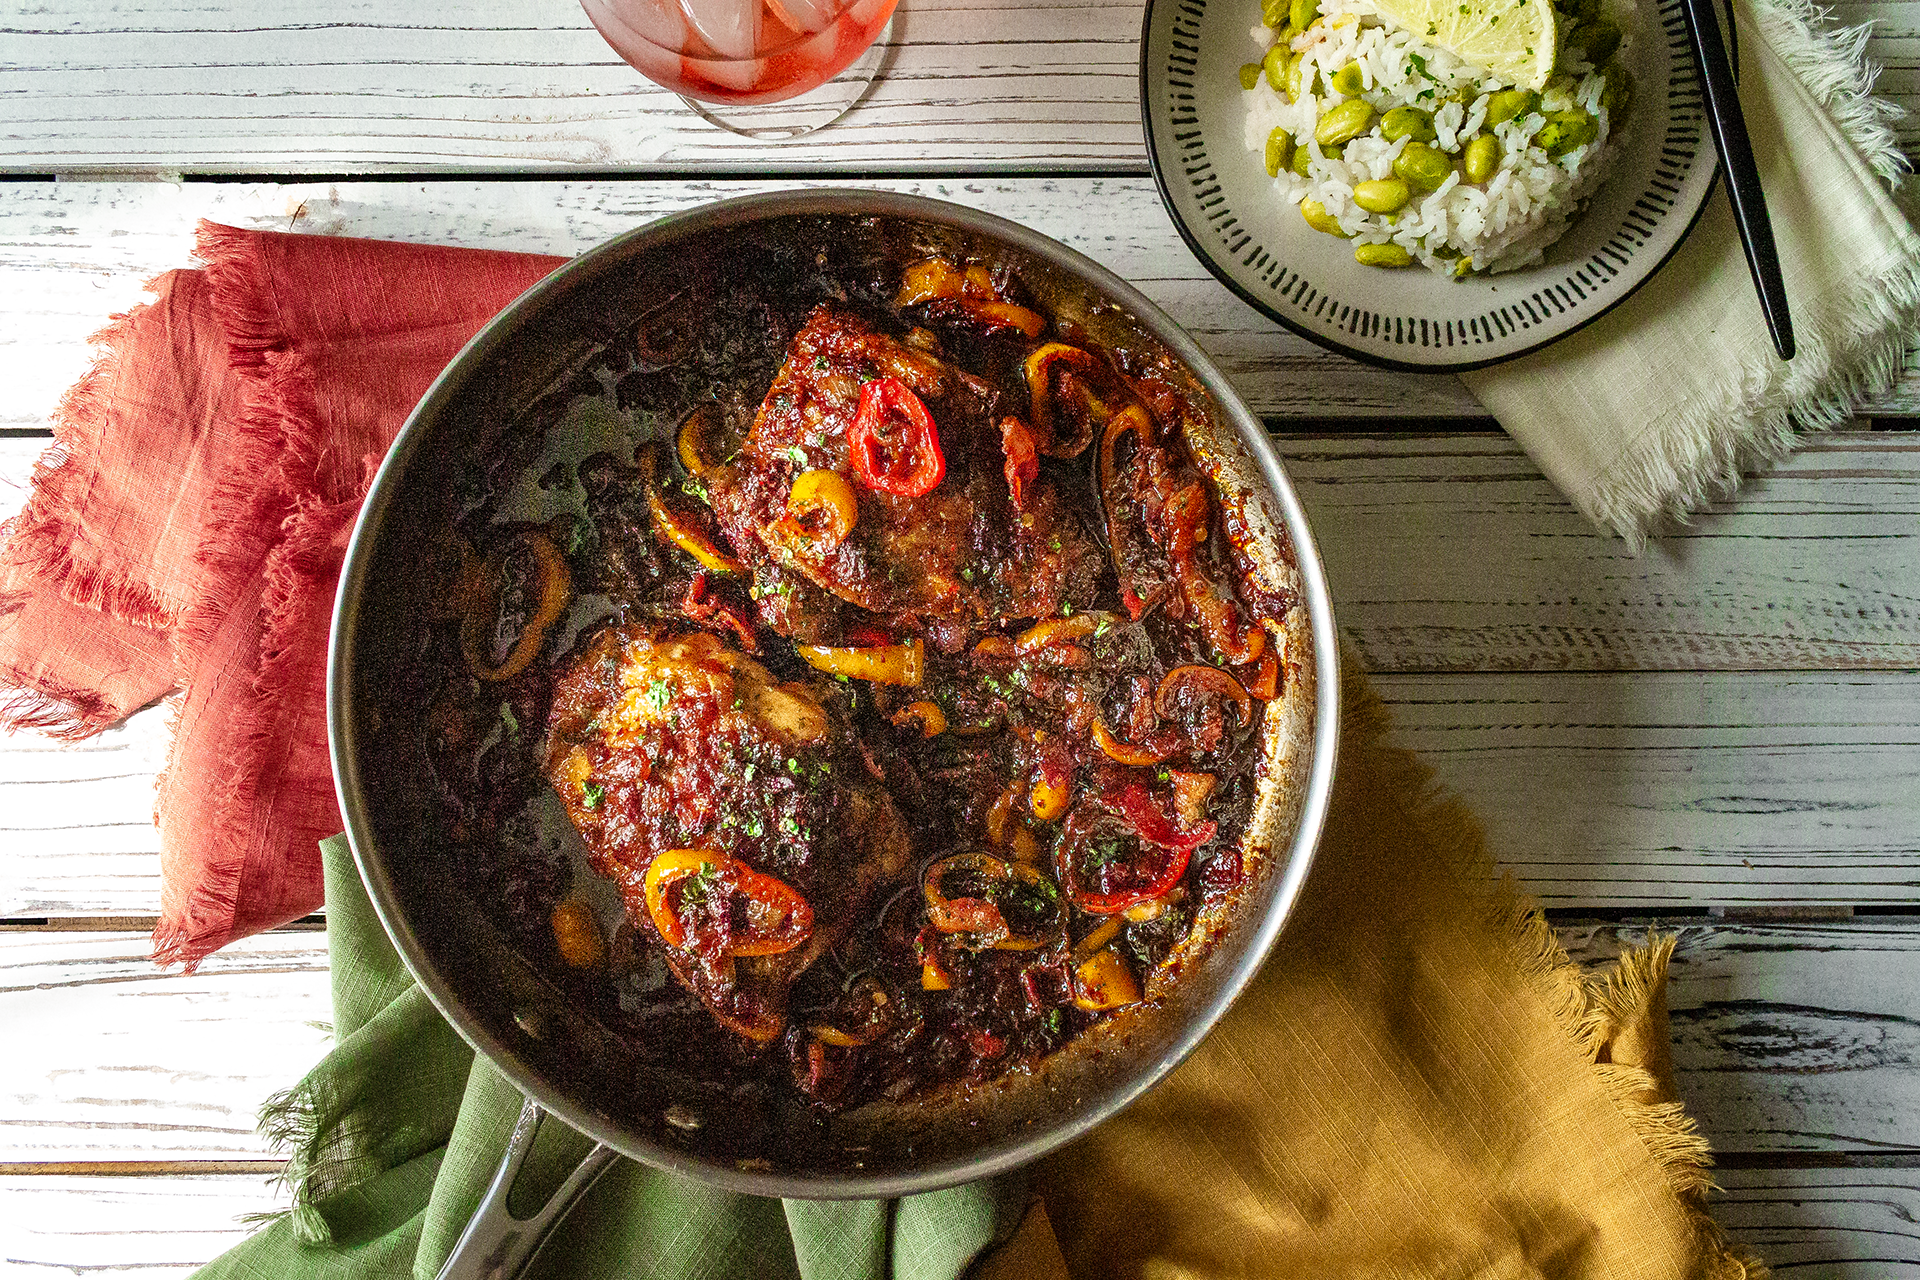
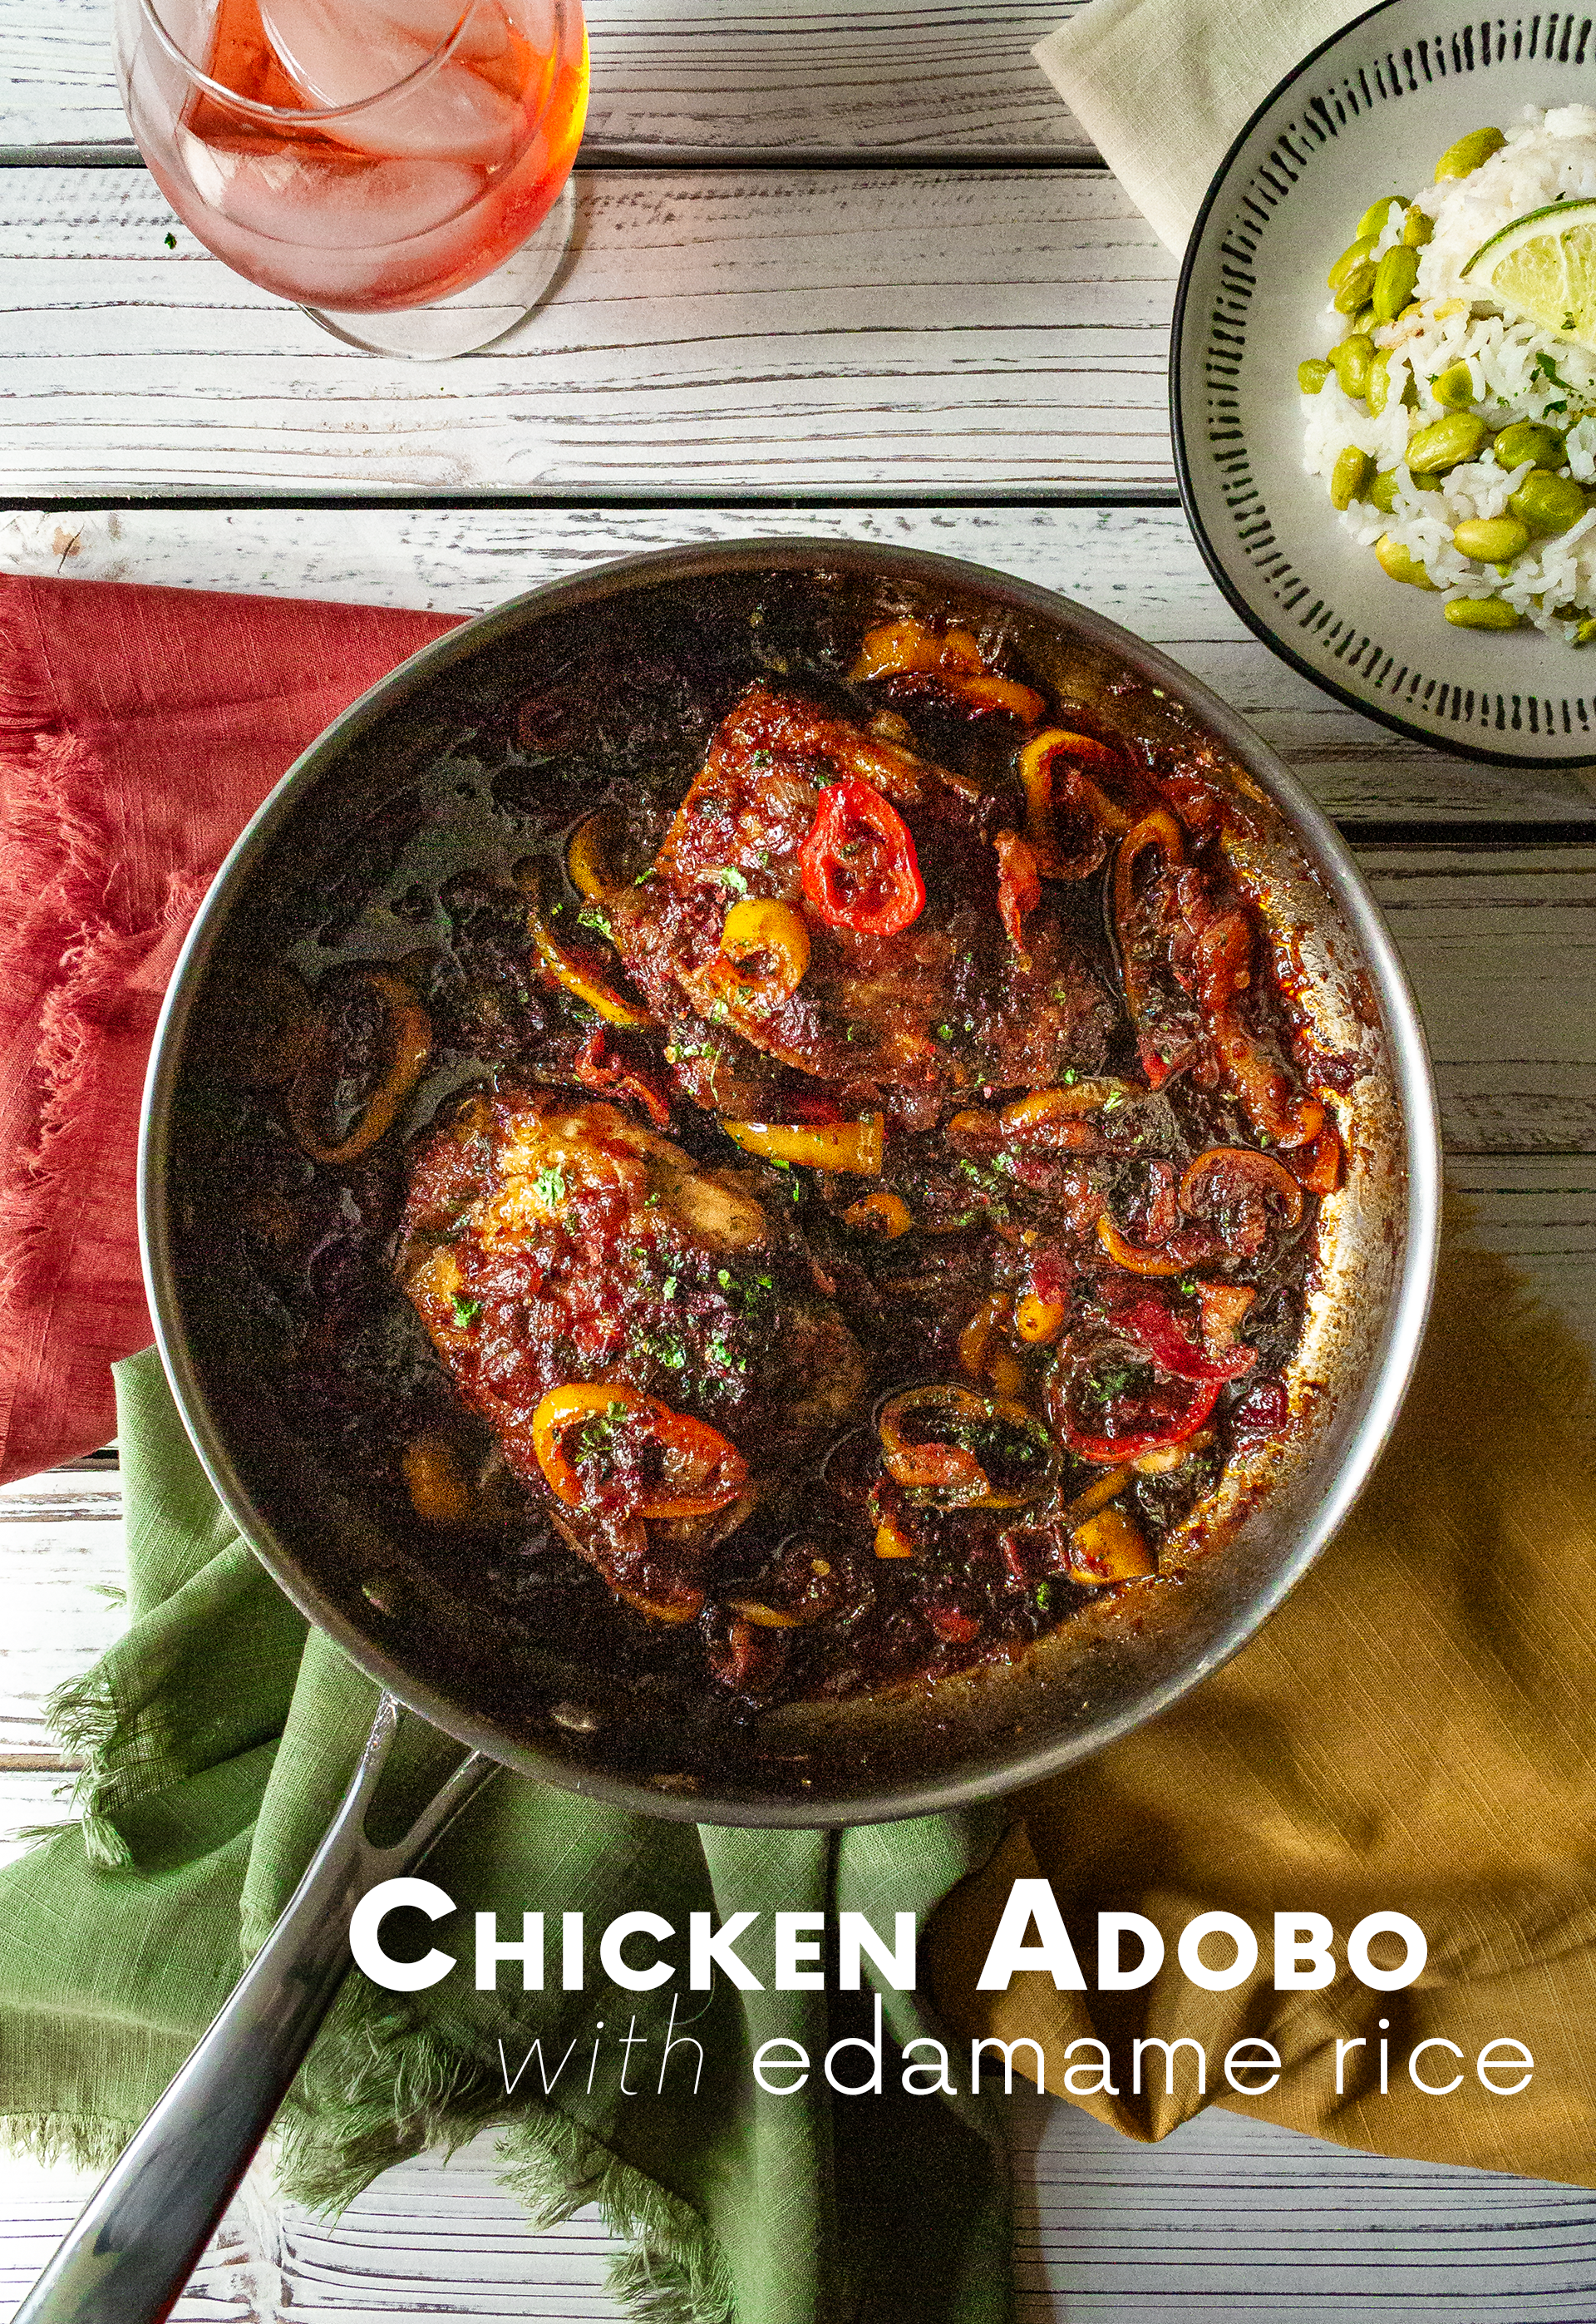
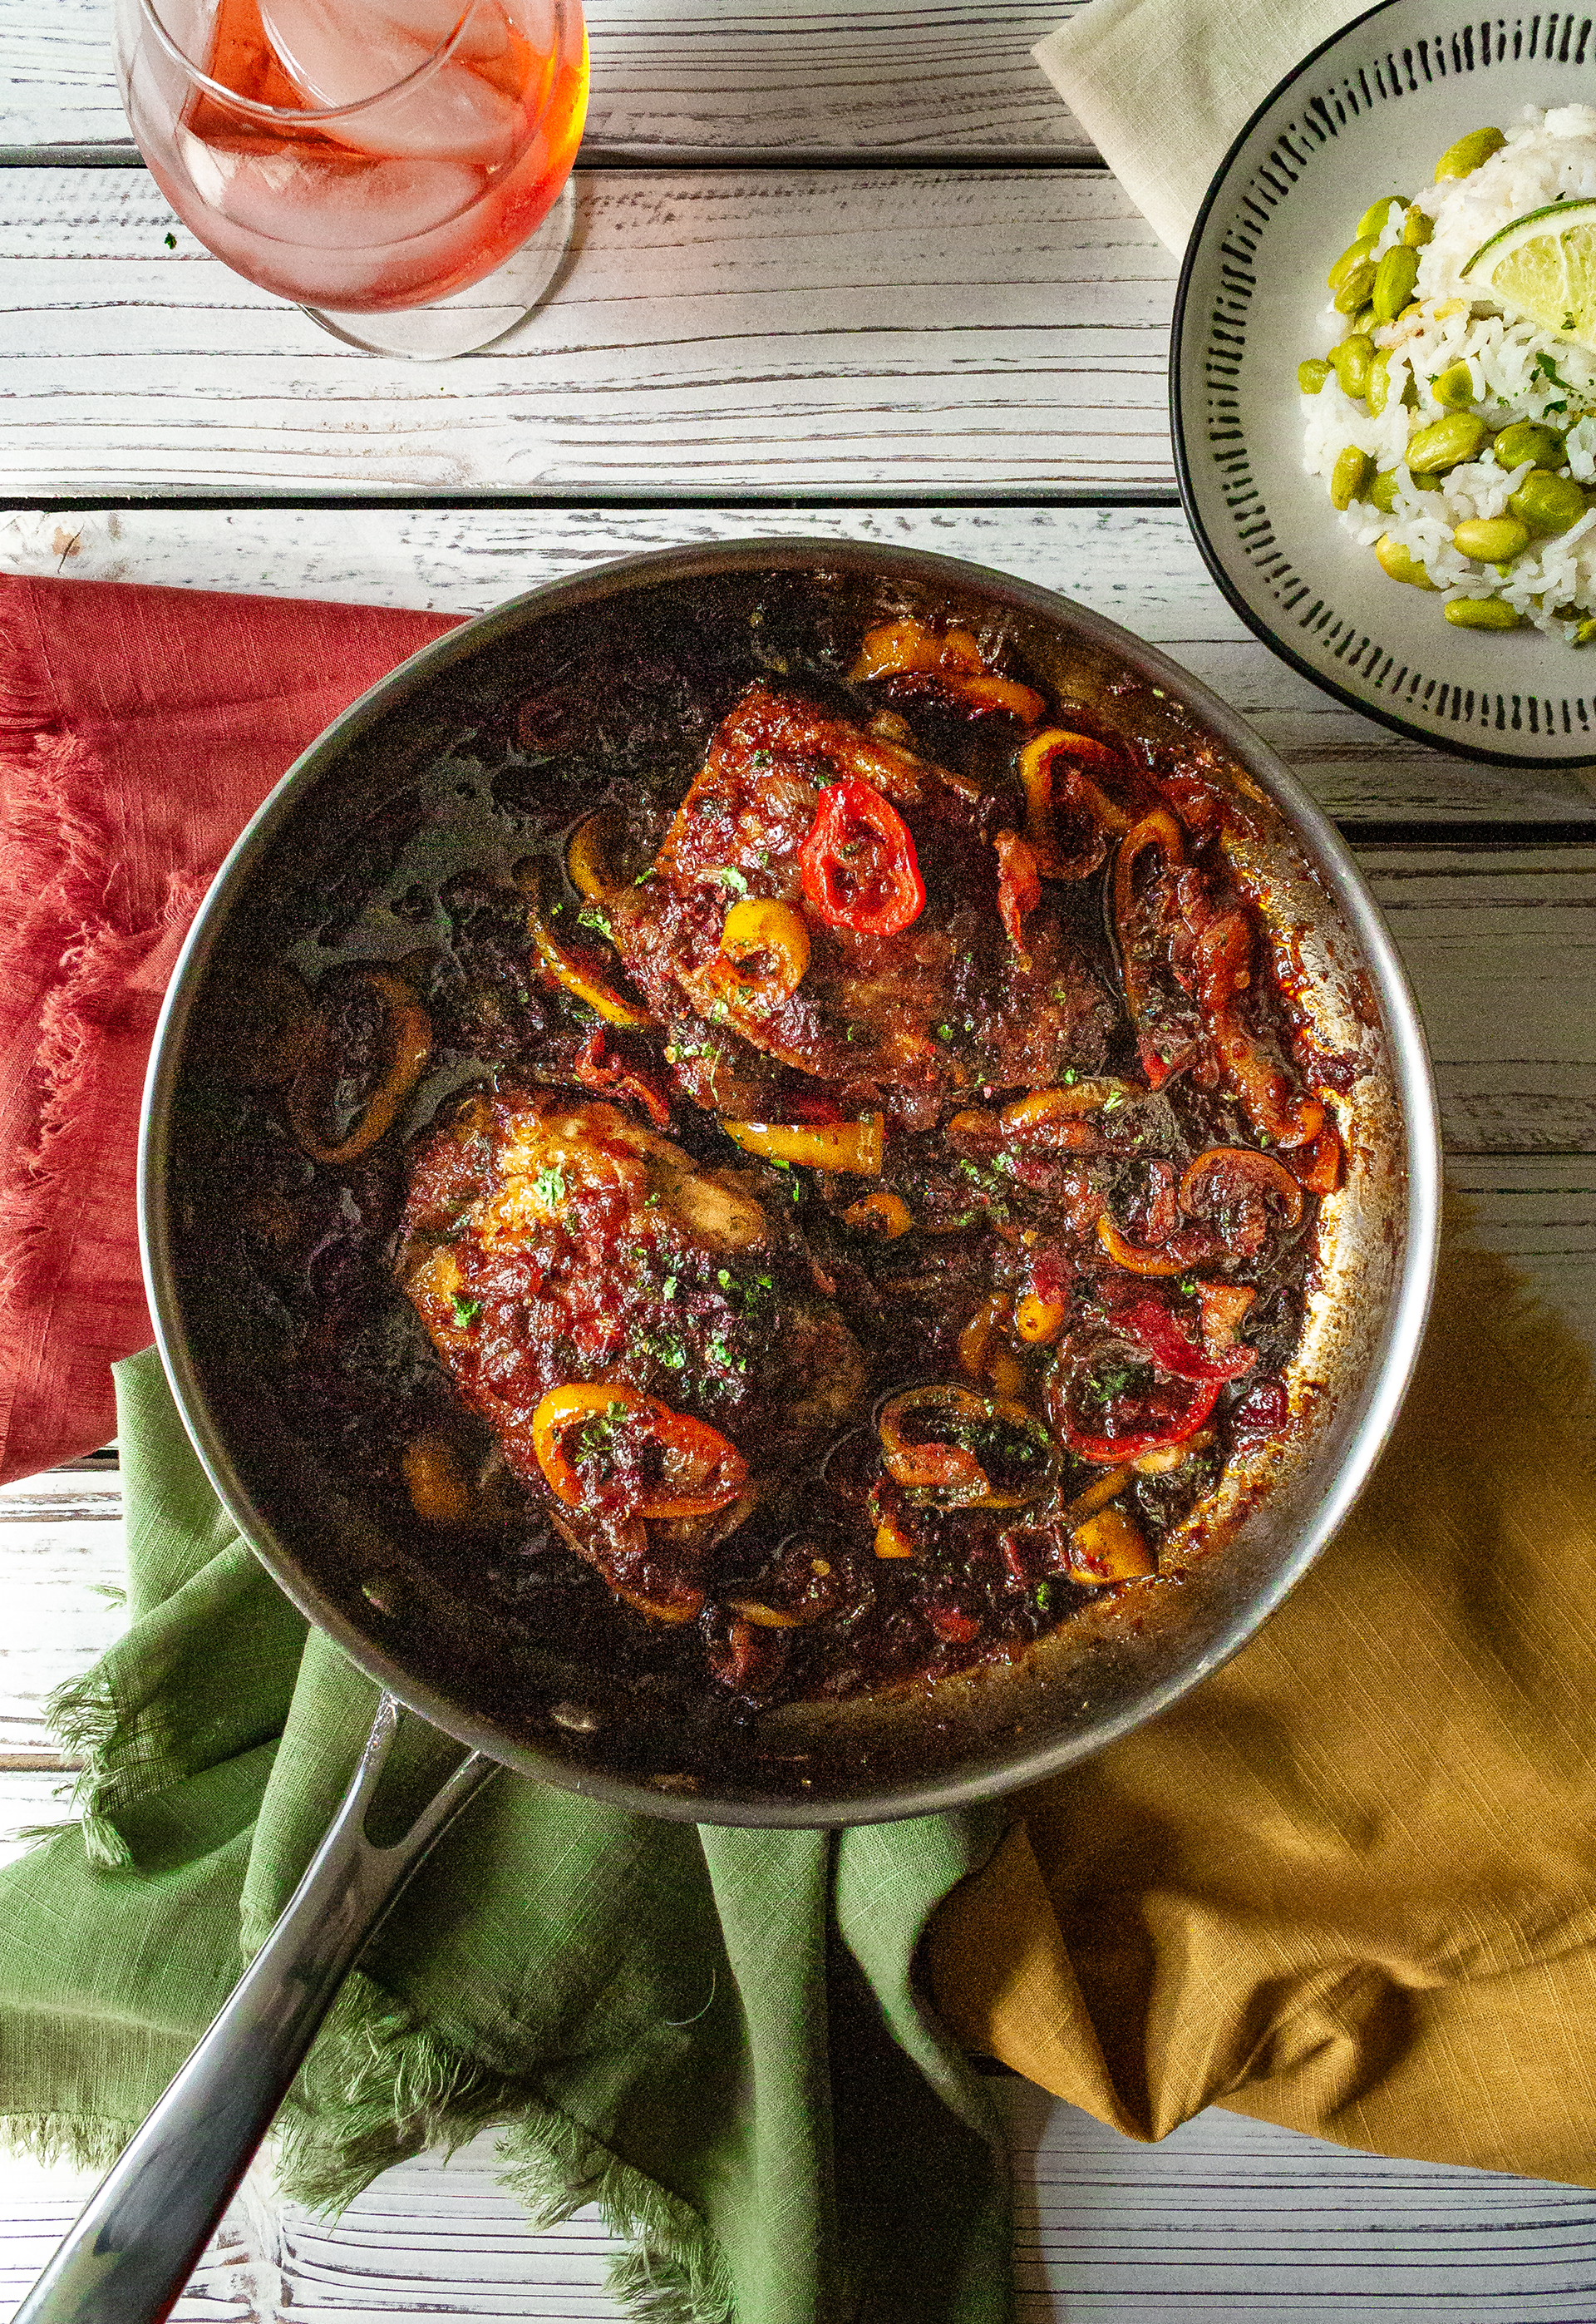
This (wildly inauthentic) chicken adobo recipe was something I decided to delve into completely on a whim after getting tired of eating the same five things over and over again in the first few weeks of self-isolation. To my surprise, Alex adored it to the point of requesting I cook it again for our anniversary dinner (a meal usually reserved for the likes of a juicy ribeye or a visit to our favorite sushi restaurant). It was spicy, tangy, and savory in a way that hit every craving I didn’t even know I had, and I seriously considered trying to bottle the sauce so we had it on-hand as a condiment for other meals. Just thinking about it makes me want to cook it again!
This recipe makes 3 servings.
(note: the pictures above show only two chicken thighs because this was my second attempt at taking photos and I had run out of chicken; I used three thighs the first time I cooked this chicken adobo recipe, hence three servings.)
Indregients:
- 3 chicken thighs, skin-on bone-in
- 12 oz edamame, shelled, frozen
- 15-20 sweet mini peppers
- 4-5 strips bacon
- 2 chipotle peppers in adobo, minced
- 2 cups + 3/4 cups water, divided
- 1 cup rice, uncooked
- 1 cup onion, diced
- 1/3 cup soy sauce
- 3 tbsp honey
- 2 tbsp sake
- 2 tbsp fish sauce
- 2 tbsp gochugaru/red pepper flakes
- 2 tbsp lime juice
- 1 tbsp dark soy sauce
- 1 tbsp sesame oil
- 1 tbsp rice vinegar
- 1 tbsp garlic, minced
- 1 tbsp ginger, minced
- 2 tsp light oil
- 1 tsp +1/2 tsp salt, divided
- 1 tsp oregano
- 1 tsp thyme
- 1 tsp white pepper
- 1/2 tsp mustard powder
- handful cilantro leaves, to finish
Directions:
- Into a rice cooker or pot, add uncooked rice, 2 cups water, frozen shelled edamame, and 1/2 tsp salt (note: follow water/rice instructions per rice cooker if using that method; edamame requires no additional water). Cover and cook for 15-20 minutes, or until rice is fluffy and edamame has steamed through. Set aside.
- Dice onion, slice sweet peppers into 1/4 inch thick rounds (as pictured). Set aside.
- In a small mixing bowl, combine soy sauce, dark soy sauce, sake, rice vinegar, honey, fish sauce, garlic, ginger, sesame oil, oregano, thyme, gochugaru/red pepper flakes, minced chipotles in adobo sauce, and white pepper. Stir to incorporate and set aside.
- Heat a large skillet on medium/medium-high, and fry 4-5 strips of bacon until crispy. Remove, roughly chop, and set aside.
- Dab a majority of the excess oil from the still-hot pan so that only a tablespoon or two is left, then add diced onion, salt, 1 tsp light oil, and 1/4 cup water. Cover and let cook until water has evaporated and a fond has begun forming on the bottom of the pan. Repeat 2-3 times until onions have softened and caramelized, deglazing pan with 1/4 cup water, incorporating fond, repeat. This takes about 7-10 minutes in total (be vigilant!)
- When onions have begin caramelizing, clear spots on the pan per each chicken thigh and add chicken thighs skin-side down. Let cook 5-7 minutes or until skin has begun to crisp.
- Flip chicken thighs and add sliced sweet peppers, chopped bacon, and sauce (see step 3). Bring sauce to a boil then reduce heat to a simmer. Let cook for about 15-20 minutes, occasionally spooning the sauce over top of the chicken thighs, or until chicken has cooked through to 165F.
- (Optional: Remove chicken thighs to a place and continue reducing sauce on a simmer until you have reached your desired thickness.)
- Remove from heat and add lime juice and cilantro. Serve with edamame rice.
This recipe keeps well overnight in the fridge, especially when leftover rice is incorporated with extra sauce to keep it moist when reheated. I would suggest removing the chicken bones before reheating in the microwave, but there is a good chance that my fears of bones exploding when nuked is the product of just an old wives’ tale. Enjoy!

Chicken Adobo with Edamame Rice
Ingredients
- 3 chicken thighs skin-on bone-in
- 12 oz edamame shelled, frozen
- 15-20 sweet mini peppers
- 4-5 strips bacon
- 2 chipotle peppers in adobo minced
- 2 cups + 3/4 cups water divided
- 1 cup rice uncooked
- 1 cup onion diced
- 1/3 cup soy sauce
- 3 tbsp honey
- 2 tbsp sake
- 2 tbsp fish sauce
- 2 tbsp gochugaru/red pepper flakes
- 2 tbsp lime juice
- 1 tbsp dark soy sauce
- 1 tbsp sesame oil
- 1 tbsp rice vinegar
- 1 tbsp garlic minced
- 1 tbsp ginger minced
- 2 tsp light oil
- 1 tsp +1/2 tsp salt divided
- 1 tsp oregano
- 1 tsp thyme
- 1 tsp white pepper
- 1/2 tsp mustard powder
- handful cilantro leaves to finish
Instructions
- Into a rice cooker or pot, add uncooked rice, 2 cups water, frozen shelled edamame, and 1/2 tsp salt*. Cover and cook for 15-20 minutes, or until rice is fluffy and edamame has steamed through. Set aside.
- Dice onion, slice sweet peppers into 1/4 inch thick rounds (as pictured). Set aside.
- In a small mixing bowl, combine soy sauce, dark soy sauce, sake, rice vinegar, honey, fish sauce, garlic, ginger, sesame oil, oregano, thyme, gochugaru/red pepper flakes, minced chipotles in adobo sauce, and white pepper. Stir to incorporate and set aside.
- Heat a large skillet on medium/medium-high, and fry 4-5 strips of bacon until crispy. Remove, roughly chop, and set aside.
- Dab a majority of the excess oil from the still-hot pan so that only a tablespoon or two is left, then add diced onion, salt, 1 tsp light oil, and 1/4 cup water. Cover and let cook until water has evaporated and a fond has begun forming on the bottom of the pan. Repeat 2-3 times until onions have softened and caramelized, deglazing pan with 1/4 cup water, incorporating fond, repeat. This takes about 7-10 minutes in total (be vigilant!)
- When onions have begin caramelizing, clear spots on the pan per each chicken thigh and add chicken thighs skin-side down. Let cook 5-7 minutes or until skin has begun to crisp.
- Flip chicken thighs and add sliced sweet peppers, chopped bacon, and sauce (see step 3). Bring sauce to a boil then reduce heat to a simmer. Let cook for about 15-20 minutes, occasionally spooning the sauce over top of the chicken thighs, or until chicken has cooked through to 165F.
- (Optional: Remove chicken thighs to a place and continue reducing sauce on a simmer until you have reached your desired thickness.)
- Remove from heat and add lime juice and cilantro. Serve with edamame rice.
Notes
The post Chicken Adobo + Edamame Rice appeared first on I Forgot Salt!.
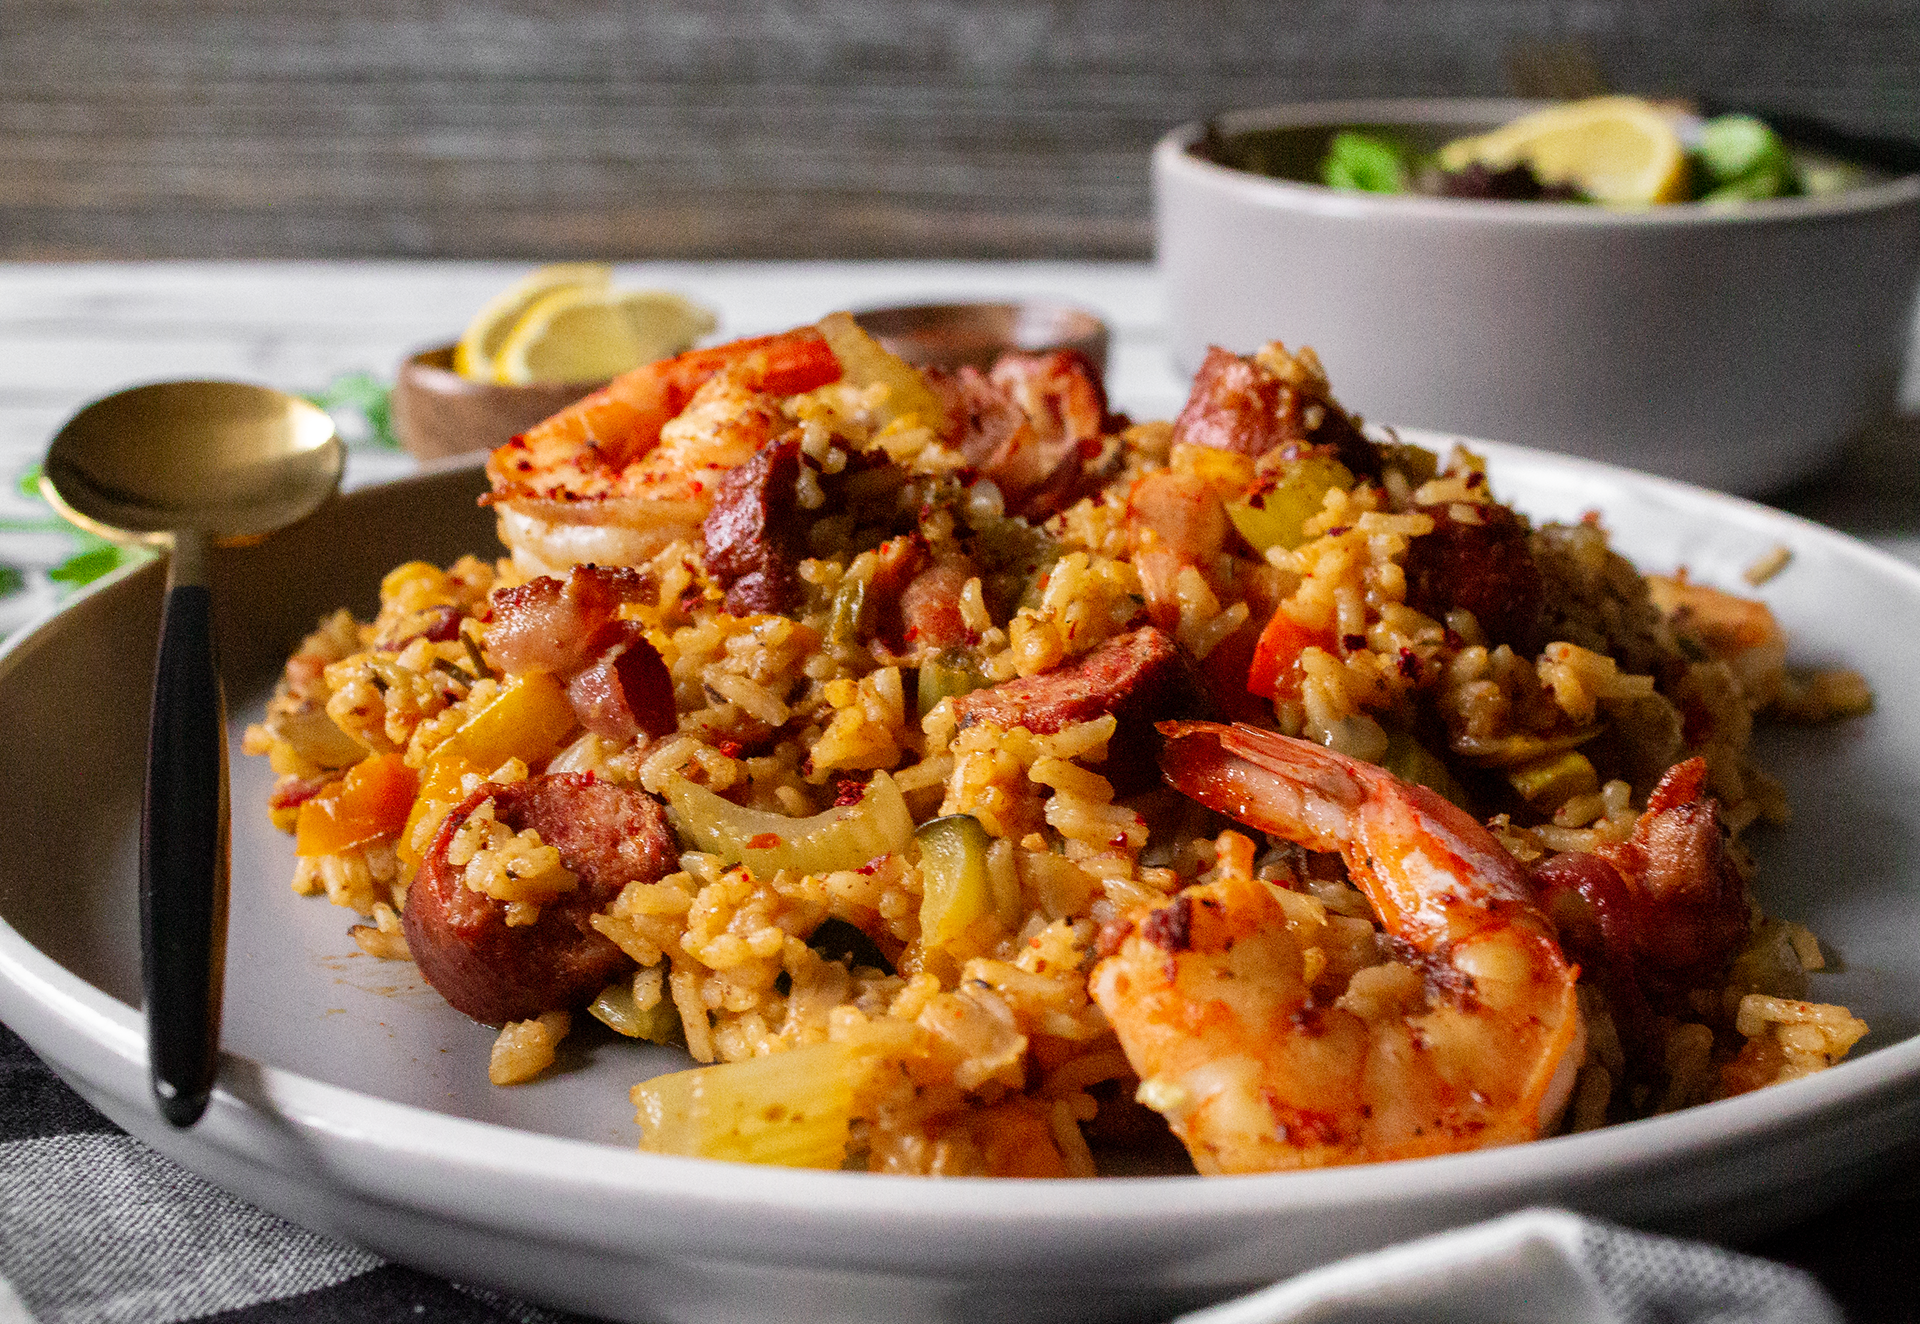
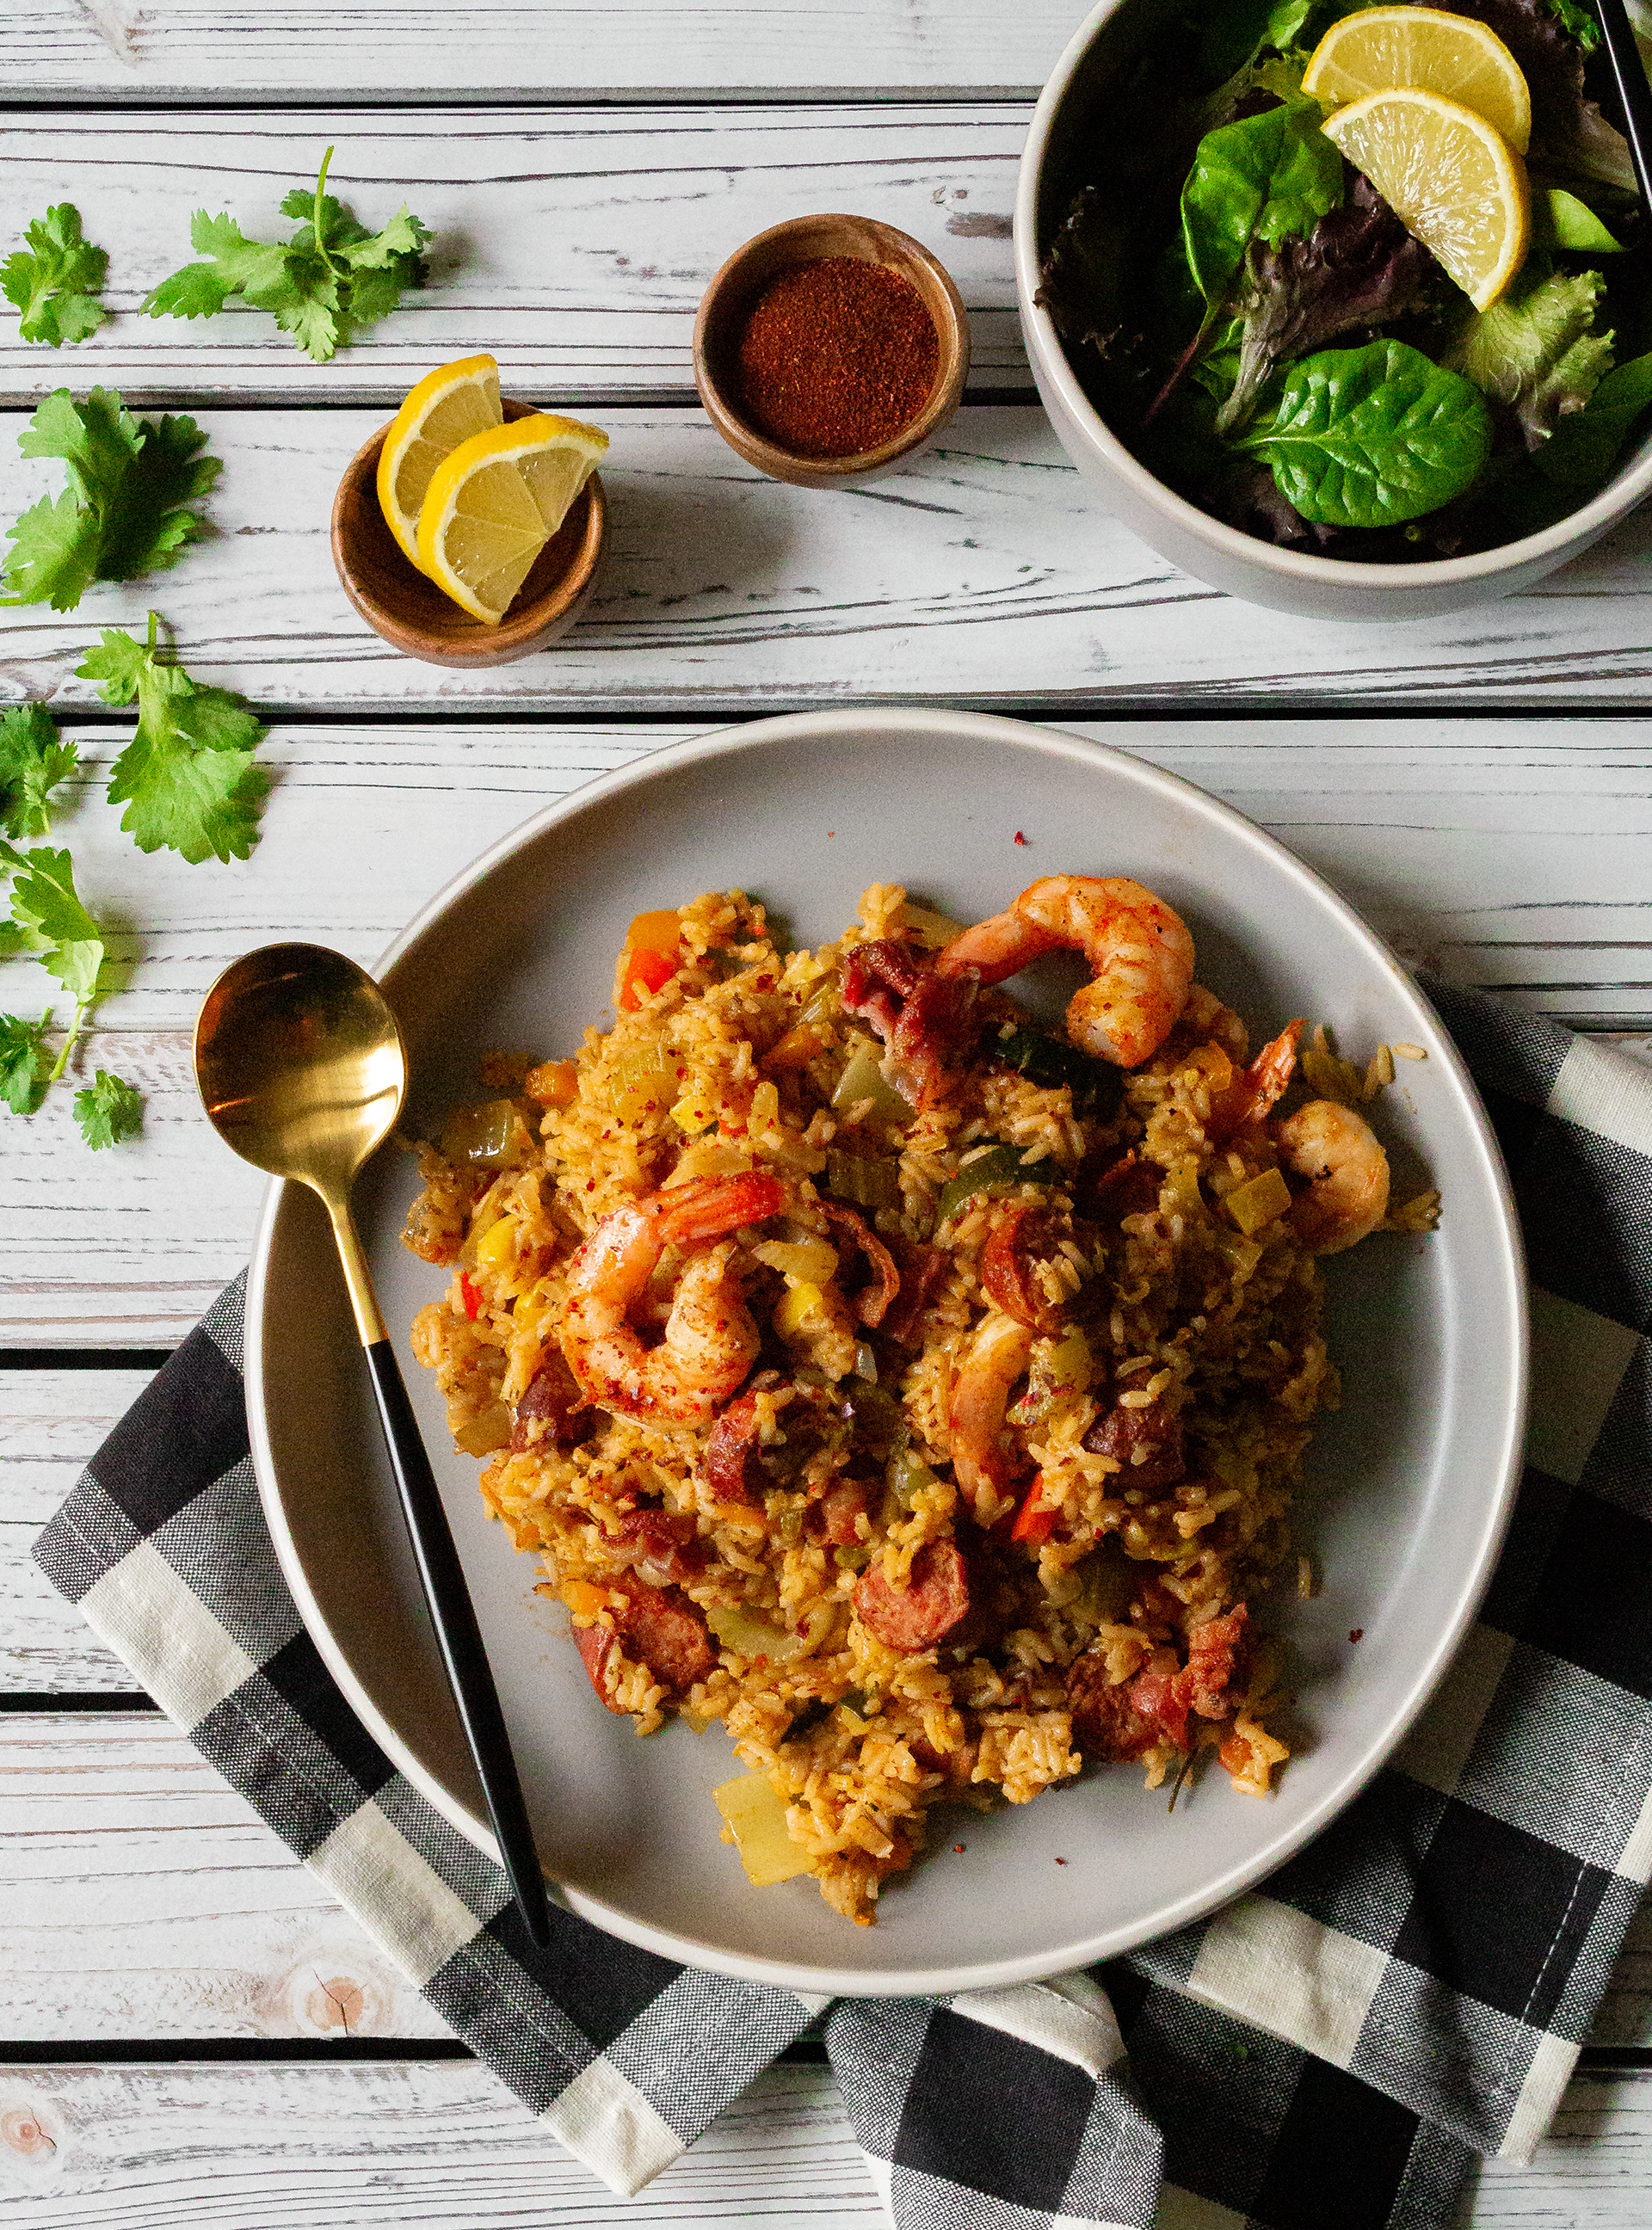
]]>The post Sausage, Bacon, and Shrimp Jambalaya appeared first on I Forgot Salt!.
]]>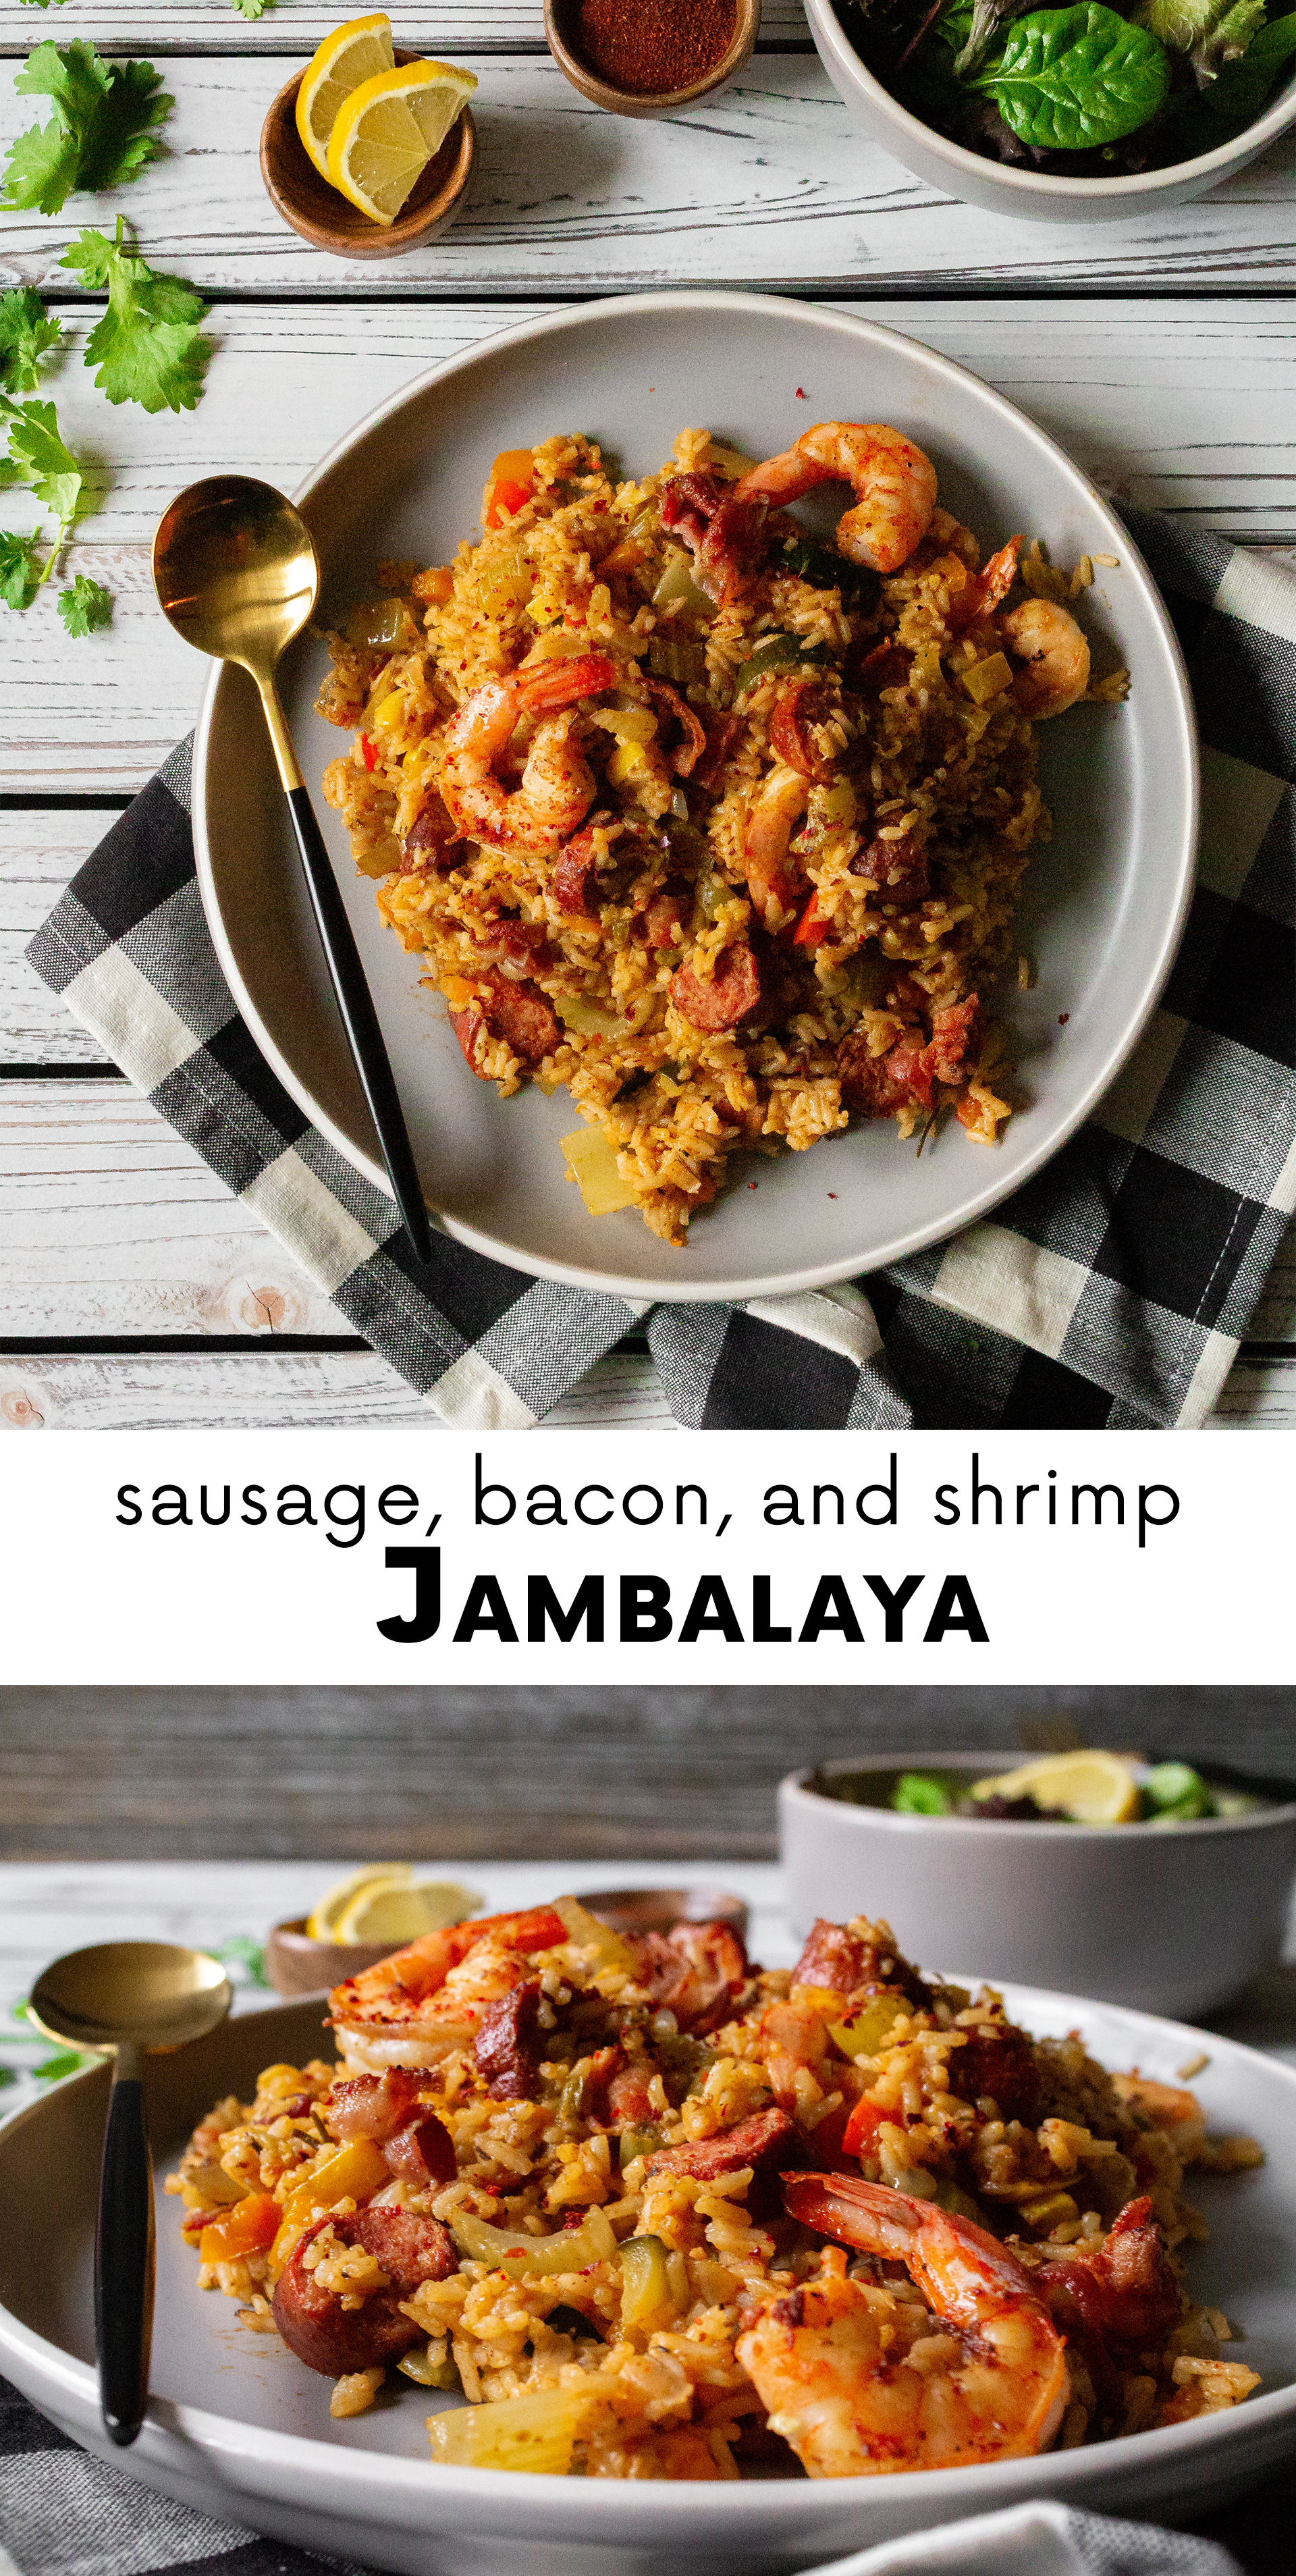
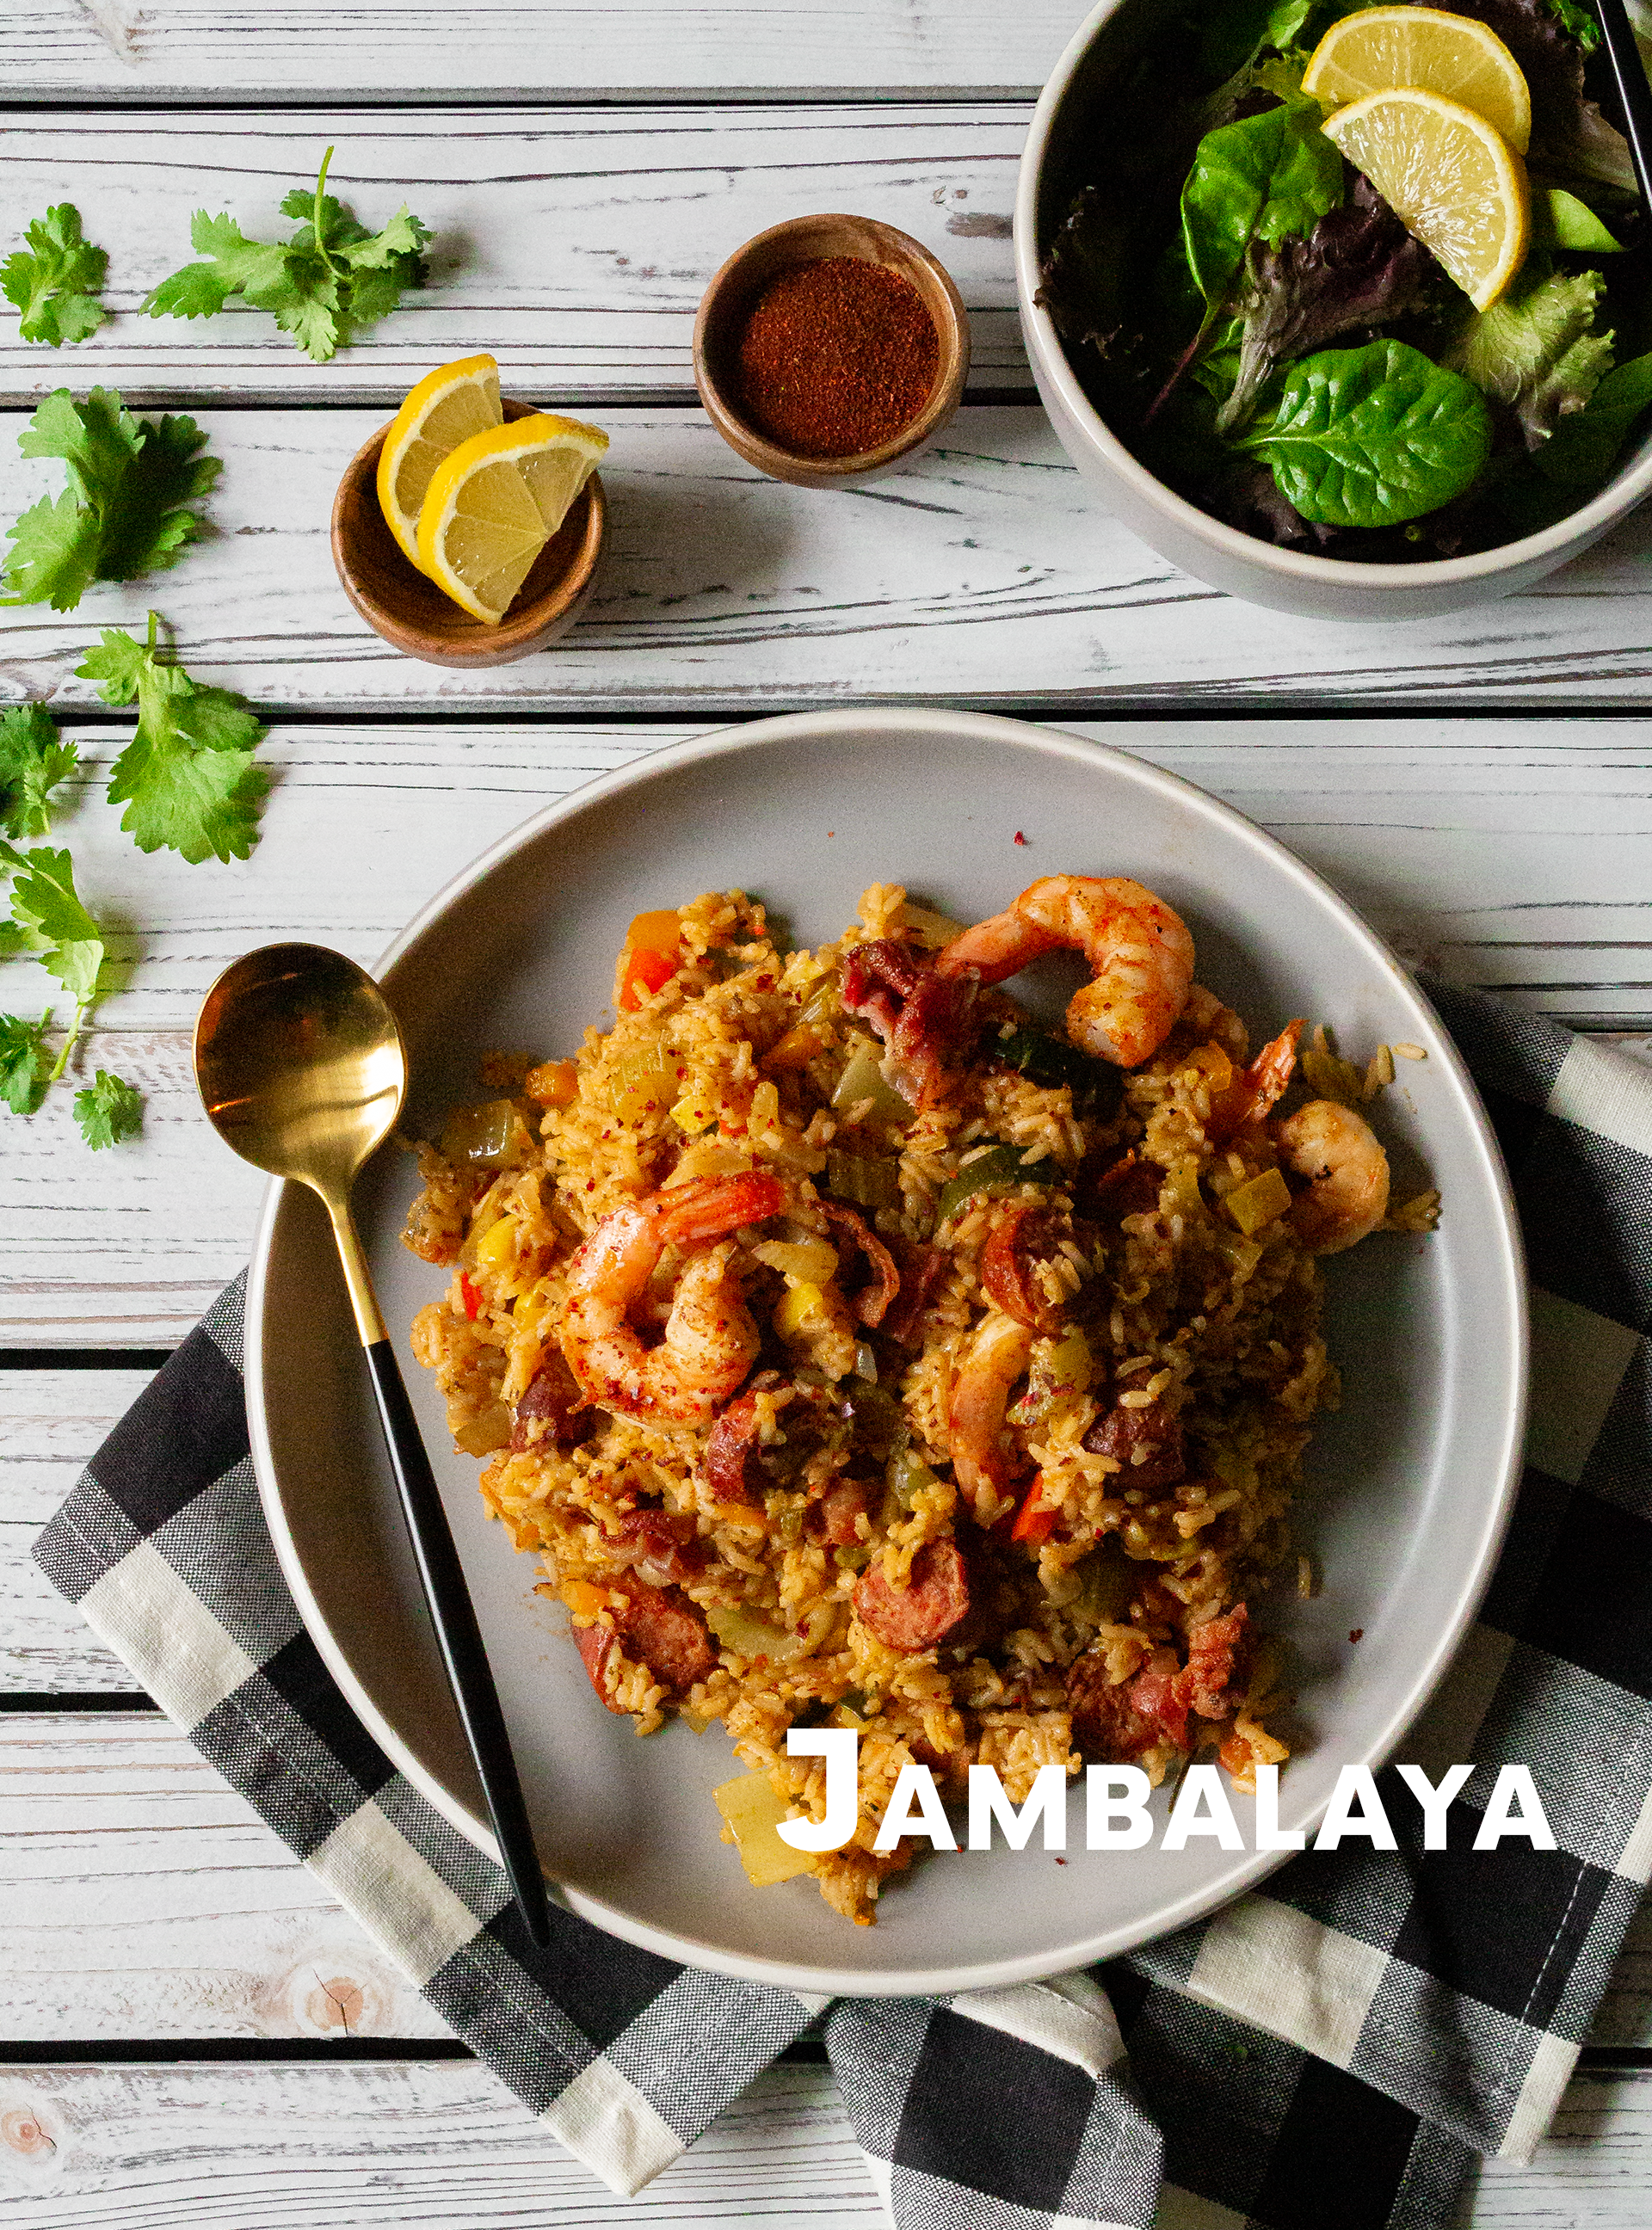
Improper jambalaya has been a quick-dinner and last-minute-lunch staple in our little apartment for the past few months. Nothing more than a pot of rice boiled with shrimp, bell peppers, and Cajun seasoning, it’s the perfect thirty-minute meal for the times when no one feels like cooking. Sometimes, though, it’s nice to have the real thing. My family has deep roots in the deeper South–my mother having been born and raised in Alabama and my father in Tennessee–and the rich flavors of Cajun cuisine from southwest Louisiana are something of a comfort. While most of the food I typically prepare takes inspiration from the Asian continent, perhaps in an attempt to establish my own culinary identity away from typical down-home cooking, there’s something magical about exploring your roots through the lens of a hobby you truly love.
Although classic jambalaya is not a dish we consistently ate as a family, the spirit of the meal brings up memories of eating breakfast for dinner and dancing around the basement adorned in purple, gold, and green as we watched the Mardi Gras parade on television. Of running through the front yard of my grandparents’ home in Huntsville, Alabama with my cousins, trying to catch fireflies and butterflies with plastic children’s nets from Harbor Freight, and those afternoons which inevitably devolved into us hurling shelled pecans from their tree at one another. Of long car rides through the Smoky Mountains spent playing Pokemon with my brother on our Nintendo Gameboys or trying to keep up a Yu-Gi-Oh game in spite of the bumpy roads, completely unaware that these moments would be some of my most enduring memories.
Quick and dirty jambalaya aside, I decided to take the free time afforded by my few days between finals and the holidays to cook a few things that I’d been meaning to for quite some time. One of those, of course, being something much closer to a traditional jambalaya. Contrary to popular belief, tomatoes are not typically included in the Cajun version of the dish–aptly named “brown jambalaya” for the excessive fond that builds up as a result of deeply browning smoked meats in the bottom of the pot or pan–and the spices are richer and more multi-dimensional than strictly “hot”. In this particular recipe, I substituted bacon for the more traditional chicken because I love the depth of flavor it brings to the dish… and because I forgot to thaw a bag of thighs.
This recipe makes six servings.
Ingredients:
- 15-20 shrimp, peeled and deveined
- 2-4 Andouille sausage links
- 4-6 slices bacon, thick-cut
- 3-4 stalks celery
- 2 bell peppers
- 1 zucchini
- 1 yellow squash
- 1/2 yellow onion
- 3 cups chicken broth
- 1 1/2 cups uncooked rice
- 2 tbsp Worcestershire sauce
- 2 tbsp jalapenos, diced
- 1 tbsp garlic, minced
- 1 tbsp light oil
- 1 tsp lemon juice
- 1 tsp paprika
- 1 tsp parsley
- 1 tsp basil
- 1 tsp oregano
- 1 tsp chili powder
- 1 tsp cumin
- 1 tsp black pepper
- 1 tsp white pepper
- 1/2 tsp thyme
- 1/2 tsp rosemary
- 1/2 tsp onion powder
- 1/2 tsp red pepper flakes
- 1/2 tsp garlic powder
- 1/2 tsp mustard powder
- 1/2 tsp salt
- 1/2 tsp cayenne pepper
Directions:
- Finely chop celery stalks, bell peppers, zucchini, yellow squash, onion, and jalapenos. Combine with minced garlic and set aside.
- In a large high-walled skillet or pot, add light oil and heat on medium high. When oil has begun to sizzle, add sausage links and bacon, frying until crisp and golden brown, about 5-7 minutes. Remove from pan and set aside.
- Add shrimp one at a time to the still-hot pan, dabbing off extra oil with a paper towel as necessary (Note: do not try to scrape off those delicious browned bits from the bottom of the pan!). Fry for 2-3 minutes each, flipping halfway through. When fully cooked, remove and set aside.
- Add vegetable mixture and all spices (paprika, parsley, basil, oregano, chili powder, cumin, black pepper, thyme, rosemary, onion powder, red pepper flakes, garlic powder, mustard powder, salt, and cayenne) to the still hot pan, scraping the bottom of the pan to release some of the fond as liquid is released from the vegetables. (Note: You are essentially deglazing the pan with the moisture from the vegetables, capturing all of that flavor.)
- Stir-fry for 5-7 minutes or until most of the fond has been released from the bottom of the pan, then add chicken brown and Worcestershire sauce. Bring to a simmer and then reduce heat to medium-low. Return bacon and sausage to the pan, and add uncooked rice, mixing to combine. (Note: Make sure that the uncooked rice is completely submerged in liquid by about 1/2 inch.)
- Cover pan and let simmer for 15-20 minutes, stirring occasionally to ensure that there is no burning on the bottom.
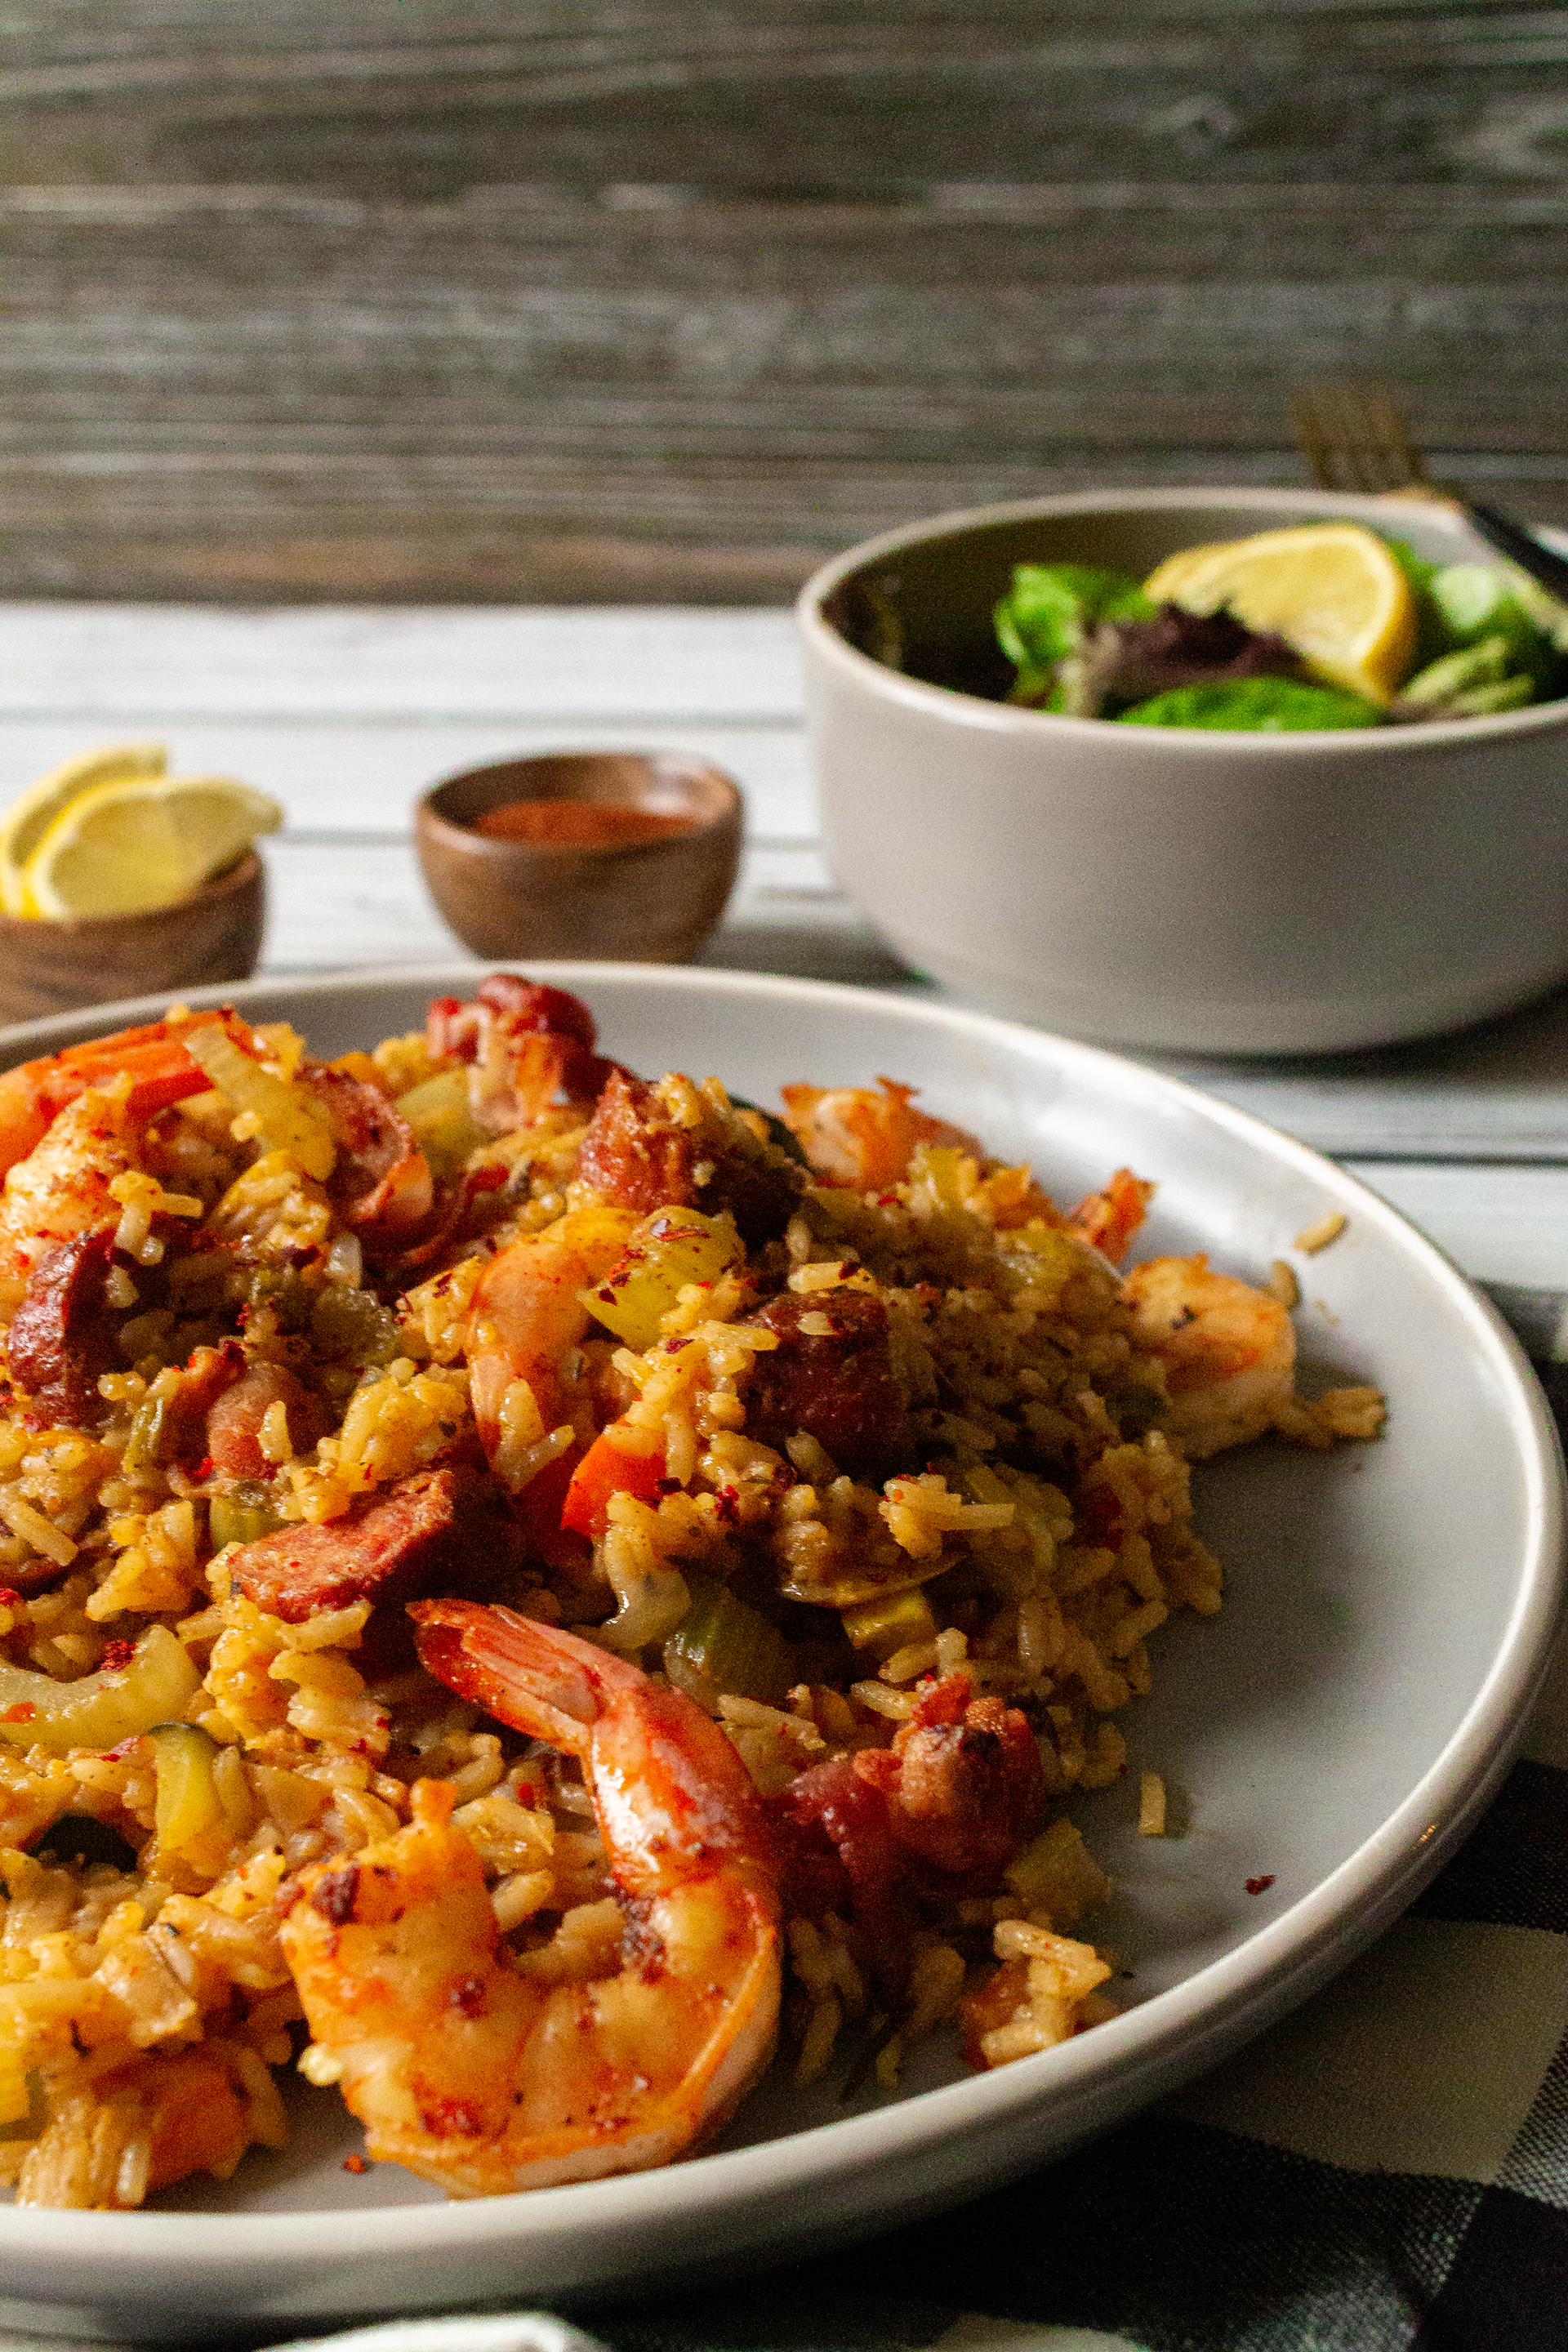
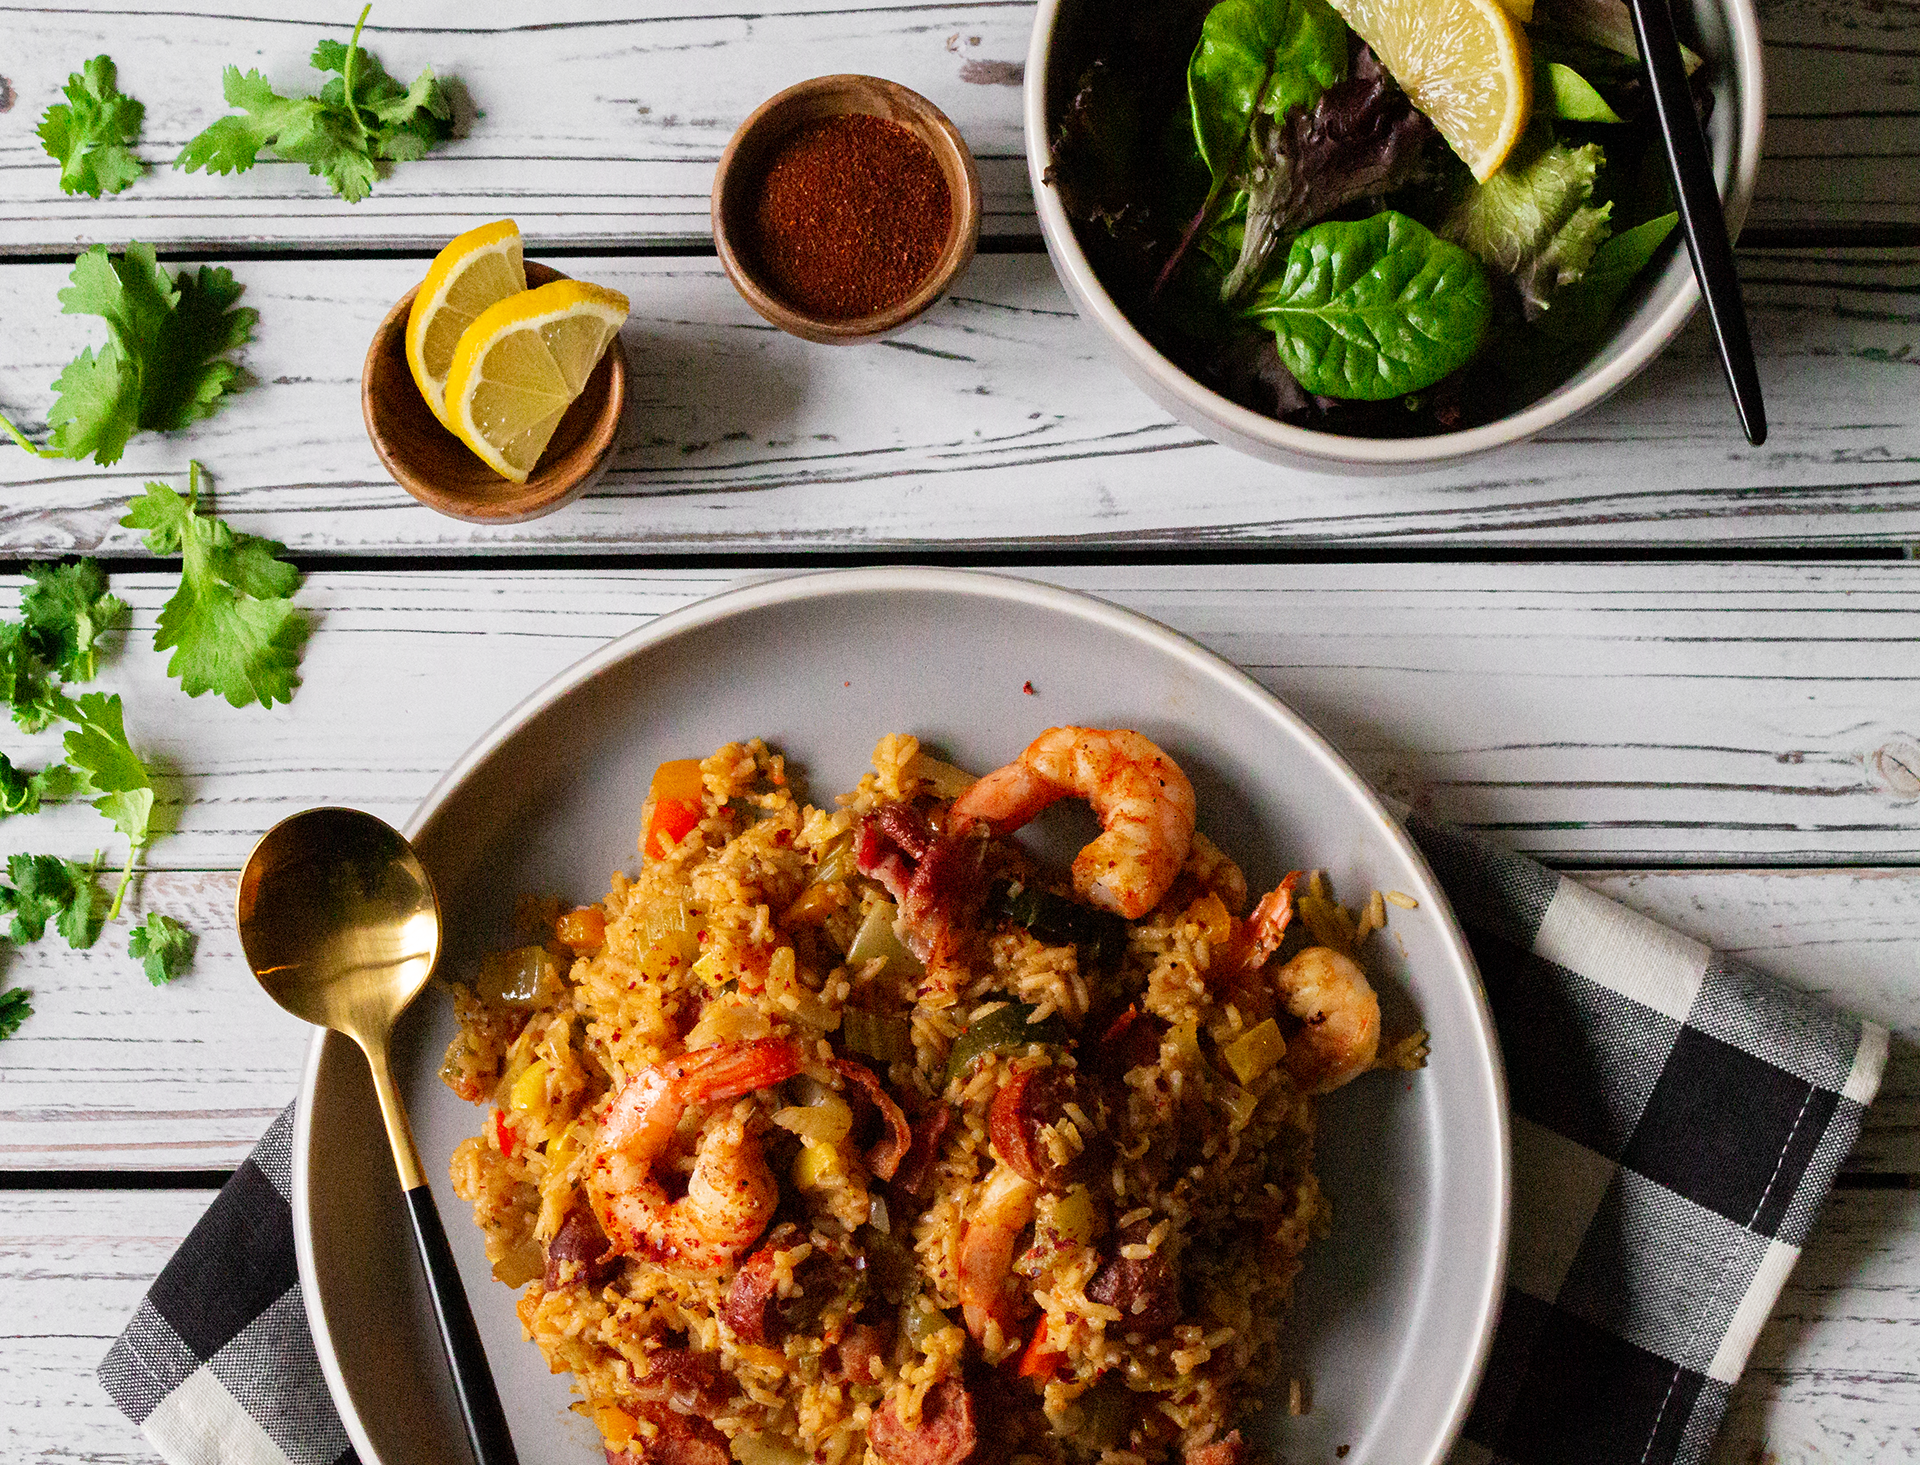
- When finished cooking, fluff rice and add lemon juice and shrimp, mixing to combine. Serve topped with red pepper flakes, cilantro, additional lemon juice, or chopped green onions.
This recipe reheats beautifully in the microwave, shrimp and all. We’ve actually been eating the leftovers for the past few days! Kept in an air-tight container in the fridge, it should last for up to a week–but you’ll likely each it all long before then!
Sausage, Bacon, and Shrimp Jambalaya
Ingredients
- 15-20 shrimp peeled and deveined
- 2-4 Andouille sausage links
- 4-6 slices bacon thick-cut
- 3-4 celery stalks
- 2 bell peppers
- 1 zucchini
- 1 yellow squash
- 1/2 yellow onion
- 3 cups chicken broth
- 1 1/2 cups uncooked rice
- 2 tbsp Worcestershire sauce
- 2 tbsp jalapenos diced
- 1 tbsp garlic minced
- 1 tbsp light oil
- 1 tsp lemon juice
- 1 tsp paprika
- 1 tsp parsley
- 1 tsp basil
- 1 tsp oregano
- 1 tsp chili powder
- 1 tsp cumin
- 1 tsp black pepper
- 1 tsp white pepper
- 1/2 tsp thyme
- 1/2 tsp rosemary
- 1/2 tsp onion powder
- 1/2 tsp red pepper flakes
- 1/2 tsp garlic powder
- 1/2 tsp mustard powder
- 1/2 tsp salt
- 1/2 tsp cayenne pepper
Instructions
- Finely chop celery stalks, bell peppers, zucchini, yellow squash, onion, and jalapenos. Combine with minced garlic and set aside.
- In a large high-walled skillet or pot, add light oil and heat on medium high. When oil has begun to sizzle, add sausage links and bacon, frying until crisp and golden brown, about 5-7 minutes. Remove from pan and set aside.
- Add shrimp one at a time to the still-hot pan, dabbing off extra oil with a paper towel as necessary*. Fry for 2-3 minutes each, flipping halfway through. When fully cooked, remove and set aside.
- Add vegetable mixture and all spices (paprika, parsley, basil, oregano, chili powder, cumin, black pepper, thyme, rosemary, onion powder, red pepper flakes, garlic powder, mustard powder, salt, and cayenne) to the still hot pan, scraping the bottom of the pan to release some of the fond as liquid is released from the vegetables**.
- Stir-fry for 5-7 minutes or until most of the fond has been released from the bottom of the pan, then add chicken brown and Worcestershire sauce. Bring to a simmer and then reduce heat to medium-low. Return bacon and sausage to the pan, and add uncooked rice, mixing to combine***.
- Cover pan and let simmer for 15-20 minutes, stirring occasionally to ensure that there is no burning on the bottom.
- When finished cooking, fluff rice and add lemon juice and shrimp, mixing to combine. Serve topped with red pepper flakes, cilantro, additional lemon juice, or chopped green onions.
Notes
- *Do not try to scrape off those delicious browned bits from the bottom of the pan!
- **You are essentially deglazing the pan with the moisture from the vegetables, capturing all of that flavor.
- ***Make sure that the uncooked rice is completely submerged in liquid by about 1/2 inch.
The post Sausage, Bacon, and Shrimp Jambalaya appeared first on I Forgot Salt!.
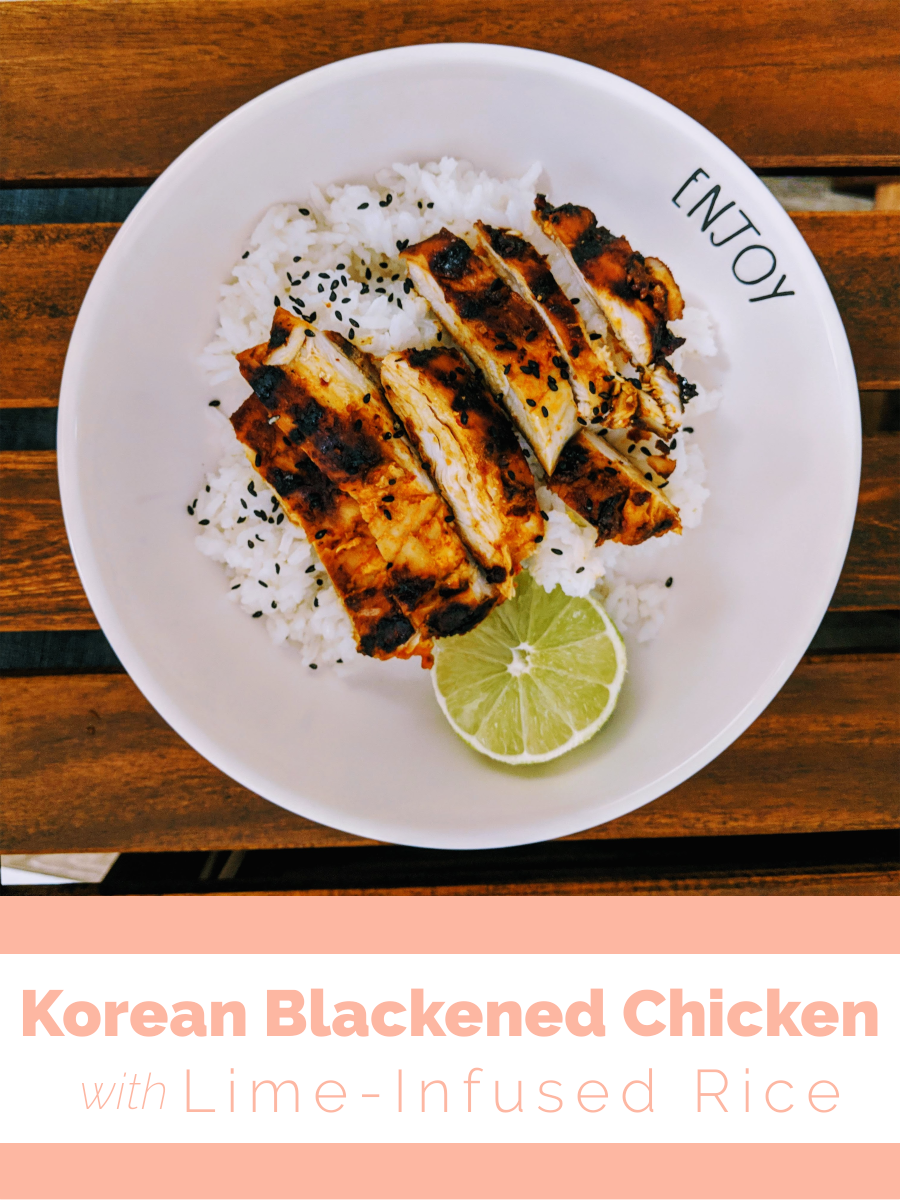
]]>The post Korean Blackened Chicken with Lime-Infused Rice appeared first on I Forgot Salt!.
]]>
After spending most of the beautiful Saturday out and about running errands (ultimately leading to three hours lost in the maze of Ikea), Alex and I returned home with freshly cut hair, eight new pieces of furniture, and absolutely no energy. While he set about putting together our new “dining room” table (it completely collapses and is the perfect size for our tiny apartment–what will those genius Swedes think of next!) I started working on dinner. We didn’t actually sit down to eat until 9:30, but it was worth the wait to have a disgustingly domestic corner nook for meals.
This recipe makes 2 servings.
Ingredients:
- 2 chicken breasts
- 1 tbsp light oil
- 2 tbsp sesame oil
- 2 tbsp gochujang (or sriracha)
- 1 tbsp gochugaru (or red pepper flakes or chili powder)
- ¼ cup soy sauce
- 2 tbsp light brown sugar
- 1 tbsp minced ginger
- 1 tbsp minced garlic
- 1 tsp white pepper
- 2 tsp salt, divided
- 1 cup uncooked rice
- 2 cups water
- 2 tsp lime zest (about 1 lime)
- 2 tbsp lime juice (about 1 lime)
Directions:
- In a large mixing bowl, combine light oil, sesame oil, gochujang, gochugaru, soy sauce, light brown sugar, minced ginger, minced garlic, white pepper, and 1 tsp salt. Stir completely until a paste has formed and set aside.
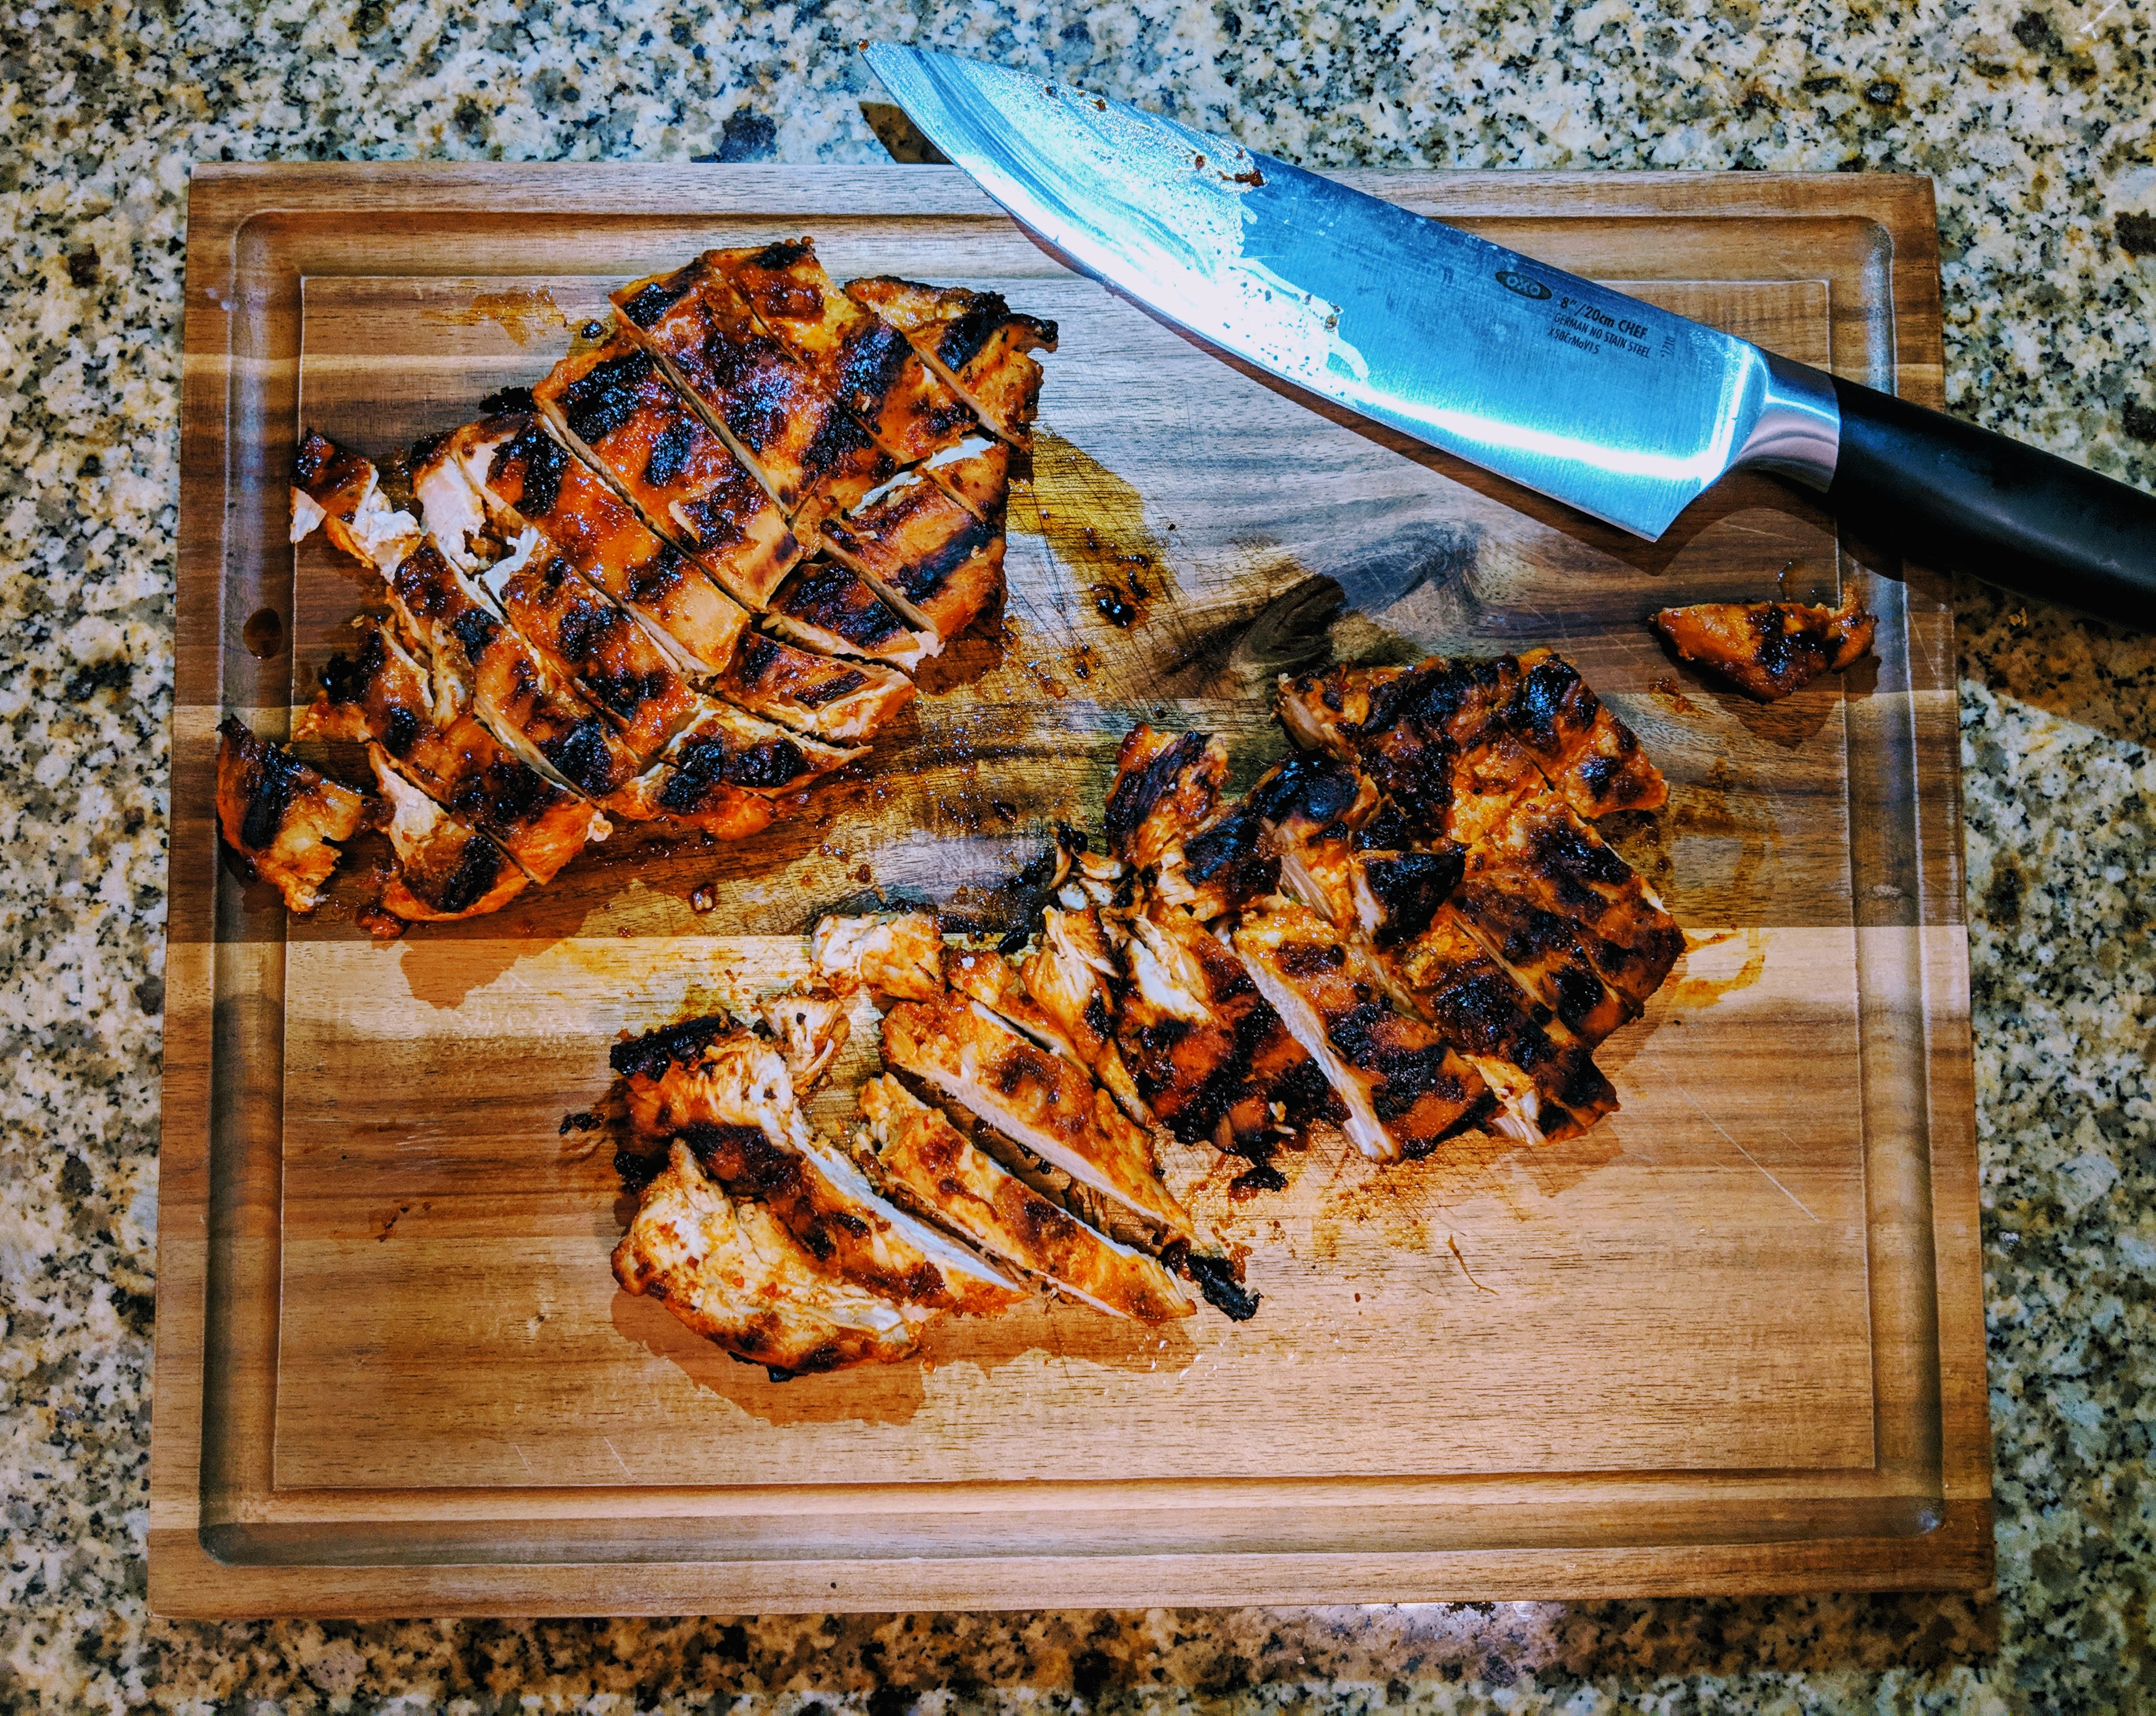
- On a large cutting board, lay out your chicken breasts. Spread a piece of plastic wrap over each (NOTE: if you don’t have plastic wrap, put each chicken breast in a Ziploc bag, but don’t seal the bags. You just need something sturdy but malleable to cover the raw chicken for a bit).
- Using a meat tenderizing mallet, regular hammer (which I used), your fists, an empty wine bottle, the bottom of a Yankee candle, or anything else you can wield with force without breaking, pound the chicken breasts flat so that you have a larger, thinner piece of meat to work with.
- Put your flattened chicken breasts in the bowl of marinade and flip several times until both are completely coated with the sauce. Cover and store in the fridge for 1 hour to overnight.
- When you’re ready to cook or while your chicken is marinating, run the uncooked rice under cold water until the water runs clear. (NOTE: if you don’t have a mesh strainer, simply fill up a bowl with the rice in it, swirl it around, and pour the cloudy water out while holding the rice back with your hands; rinse and repeat).
- In a small pot, add uncooked rice, water, lime zest, lime juice, and remaining 1 tsp salt. Cover and cook on low heat for 20-25 minutes. When finished, remove from heat and set aside without removing the lid.
- Heat grill, grill pan, or skillet on medium-high. Lay marinated chicken breasts flat and cook for 20-25 minutes, flipping in increments of 5 minutes. If desired, baste with the remaining marinade on the first two flips.
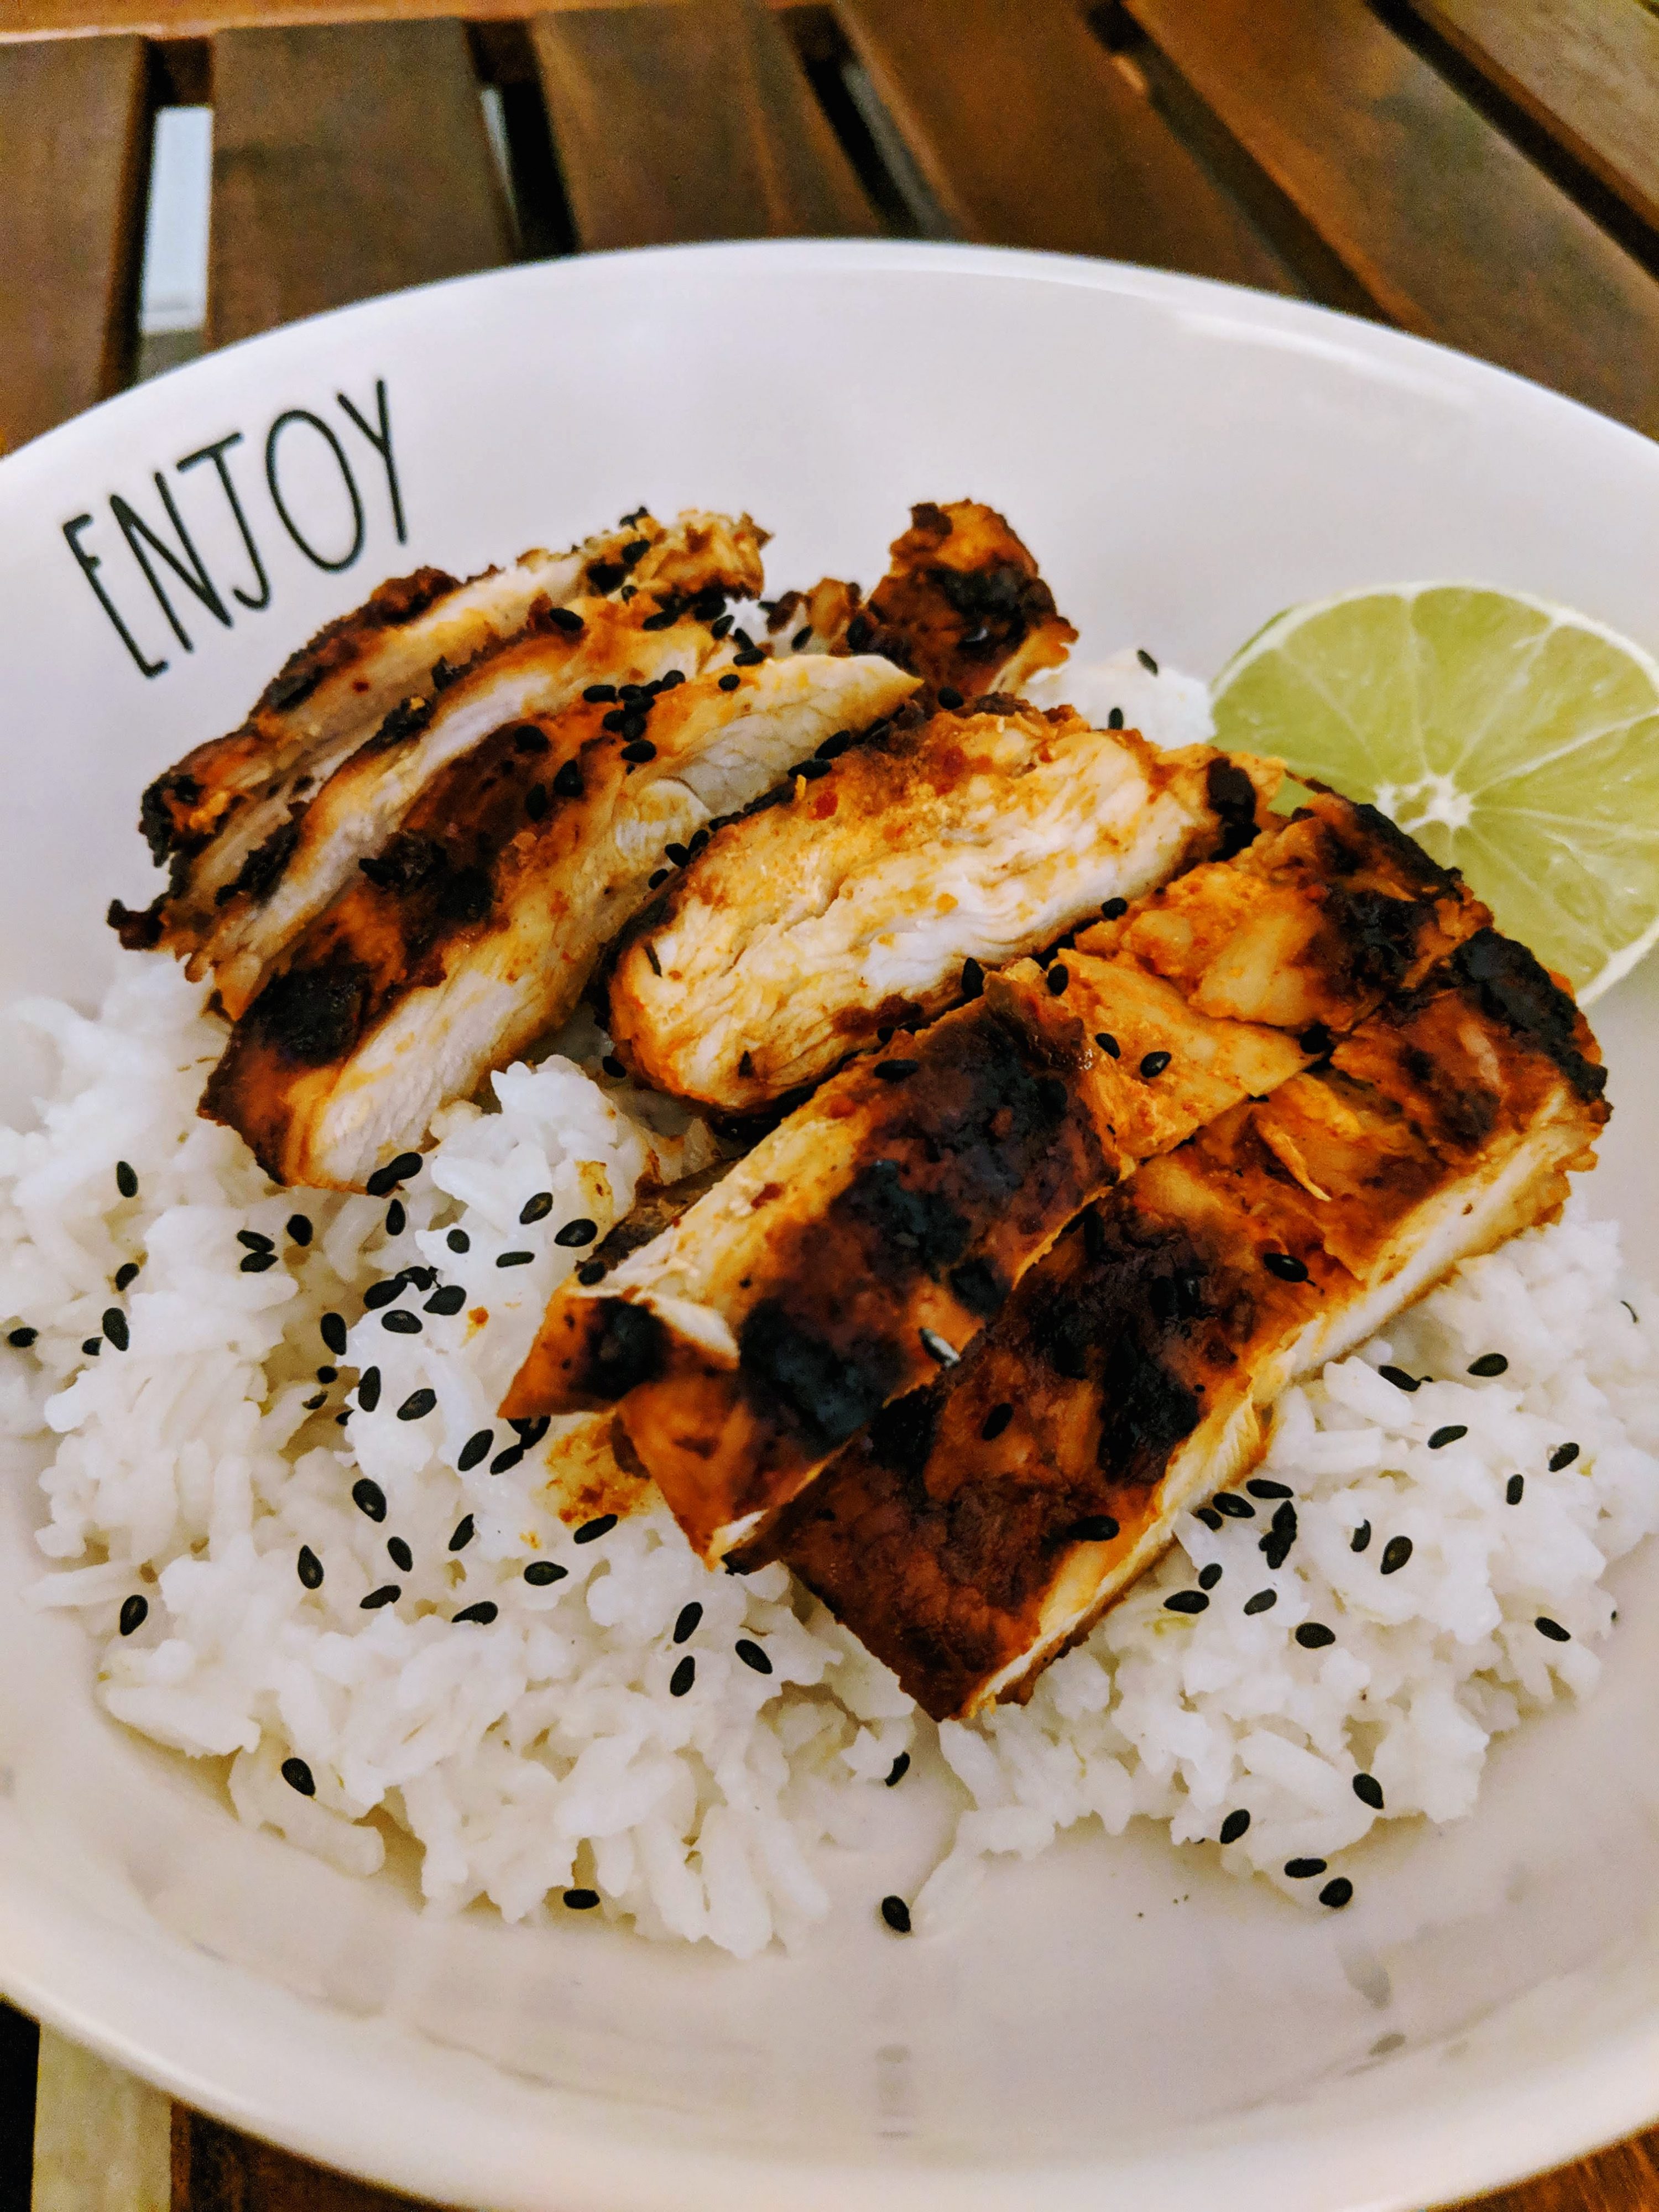
- When completely cooked through, remove chicken and set aside. Cover and let rest for 10 minutes. Slice into strips and serve with lime rice. Garnish with sesame seeds, soy sauce, and/or additional lime juice. Enjoy!
This recipe keeps great overnight and reheats well in the microwave.

Korean Blackened Chicken with Lime-Infused Rice
Ingredients
- 2 chicken breasts
- 1 tbsp light oil
- 2 tbsp sesame oil
- 2 tbsp gochujang/sriracha
- 1 tbsp gochugaru/red pepper flakes
- ¼ cup soy sauce
- 2 tbsp light brown sugar
- 1 tbsp ginger minced
- 1 tbsp garlic minced
- 1 tsp white pepper
- 2 tsp salt divided
- 1 cup rice uncooked
- 2 cups water
- 2 tsp lime zest about 1 lime
- 2 tbsp lime juice about 1 lime
Instructions
- In a large mixing bowl, combine light oil, sesame oil, gochujang, gochugaru, soy sauce, light brown sugar, minced ginger, minced garlic, white pepper, and 1 tsp salt. Stir completely until a paste has formed and set aside.
- On a large cutting board, lay out your chicken breasts. Spread a piece of plastic wrap over each.*
- Using a meat tenderizing mallet**, pound the chicken breasts flat so that you have a larger, thinner piece of meat to work with.
- Put your flattened chicken breasts in the bowl of marinade and flip several times until both are completely coated with the sauce. Cover and store in the fridge for 1 hour to overnight.
- When you’re ready to cook or while your chicken is marinating, run the uncooked rice under cold water until the water runs clear.***
- In a small pot, add uncooked rice, water, lime zest, lime juice, and remaining 1 tsp salt. Cover and cook on low heat for 20-25 minutes. When finished, remove from heat and set aside without removing the lid.
- Heat grill, grill pan, or skillet on medium-high. Lay marinated chicken breasts flat and cook for 20-25 minutes, flipping in increments of 5 minutes. If desired, baste with the remaining marinade on the first two flips.
- When completely cooked through, remove chicken and set aside. Cover and let rest for 10 minutes. Slice into strips and serve with lime rice. Garnish with sesame seeds, soy sauce, and/or additional lime juice. Enjoy!
Notes
- * If you don’t have plastic wrap, put each chicken breast in a Ziploc bag, but don’t seal the bags. You just need something sturdy but malleable to cover the raw chicken for a bit.
- ** regular hammer (which I used), your fists, an empty wine bottle, the bottom of a Yankee candle, or anything else you can wield with force without breaking
- *** If you don’t have a mesh strainer, simply fill up a bowl with the rice in it, swirl it around, and pour the cloudy water out while holding the rice back with your hands; rinse and repeat.
The post Korean Blackened Chicken with Lime-Infused Rice appeared first on I Forgot Salt!.
]]>The post Shrimp Fried Rice Meal Prep appeared first on I Forgot Salt!.
]]>
Another week has come and gone, which means another Sunday afternoon spent cooking. Admittedly, I went a little wild with this meal prep because I’m not a huge fan of basic fried rice. I tried a few different things to avoid sending Alex to work all week with a relatively bland vegetables + rice + soy sauce + shrimp mix that the classic recipe calls for, and I was pleasantly surprised at how well it turned out. The nice part about fried rice dishes is that you can add or remove sauce ingredients to fit whatever you have in your pantry as long as they’re within the same category of cuisine, and it will always turn out great! So if you don’t have something listed below, just substitute it or leave it out altogether and you’ll still have a rad meal.
This recipe makes 4 generous helpings.
Ingredients:
- 40-45 large shrimp, peeled and deveined
- 2 cups uncooked rice
- 5 cups water
- 2 tsp lime zest (about 1 lime)
- 2 tbsp lime juice (about 1 lime)
- 2 bell peppers, chopped
- 1 cup snow peas, chopped
- 1 cup baby corn, chopped
- 1 cup slaw mix (optional)
- 4 eggs
- 2 tbsp minced garlic
- 2 tbsp minced ginger
- 2 tbsp sesame oil, divided
- ½ cup soy sauce, divided
- 1 tsp gochujang OR sriracha
- 1 tsp white pepper
- 1 tsp salt
- 1 tsp black pepper
- 1 tbsp hoisin sauce (see my recipe here!)
- 1 tbsp oyster sauce
Directions:
- Rinse uncooked rice grains in cold water it runs clear. Add cleaned rice to a large put with 5 cups water, lime zest, and lime juice. Cover and cook on medium heat for 15-18 minutes, stirring occasionally to ensure it does not burn on the bottom. (NOTE: You kind of have to babysit rice if you don’t have a rice cooker. It can go from “raw rice soup” to “setting off the fire alarm” in like 2 minutes, so be vigilant.)
- Leave rice to cool and dry completely in the pot for 4 hours, or put in in the fridge for 2-3 hours… or the freezer for 1 hour. (NOTE: If you try to stir fry hot, wet rice, it will turn to mush and you’ll have something the consistency of porridge. Yikes!)
- Roughly chop bell peppers, snow peas, and baby corn (or whatever vegetables you choose to use). Set aside.
- Heat 1 tbsp sesame oil in a wok or large skillet pan on the highest heat setting. When hot, add ginger, garlic, gochujang OR sriracha, white pepper, salt, and ¼ cup soy sauce. Mix until combined.
- Add shrimp to hot wok or skillet pan and cook until pink all the way through, about 5 minutes.
- Remove shrimp and set aside in a bowl, leaving all remaining juices and sauce in the wok/pan.
- Add chopped vegetables and slaw mix to wok/pan. Stir fry for 1-2 minutes, until colors have brightened and vegetables have crisped.
- Push all vegetables to one side of the wok/pan, leaving an open space. Crack 4 eggs into the open space and immediately scramble. Cook until firm and opaque, 1-2 minutes.
- Return shrimp to wok/pan and mix vegetables, eggs, and shrimp. Add cooled rice and mix until all are combined. Continue tossing for 1-3 minutes, or until rice has reheated completely.
- Remove pan/wok from heat.
- Add black pepper, hoisin sauce, oyster sauce, remaining ¼ cup soy sauce, and remaining 1 tbsp sesame oil to the pan/wok. Mix until sauce has evenly distributed throughout the dish and the rice has turned a dark brown color.
- Serve and top with additional soy sauce and sriracha, if desired.
This recipe keeps for week in the fridge. To reheat, add 1-2 tsp water to the dish and microwave covered for 2-3 minutes, depending on the strength of your appliance. The additional water and covered container will create steam and keep your rice from drying out!

Shrimp Fried Rice Meal Prep
Ingredients
- 40-45 large shrimp peeled and deveined
- 2 cups rice uncooked
- 5 cups water
- 2 tsp lime zest about 1 lime
- 2 tbsp lime juice about 1 lime
- 2 bell peppers chopped
- 1 cup snow peas chopped
- 1 cup baby corn chopped
- 1 cup slaw mix optional
- 4 eggs
- 2 tbsp garlic minced
- 2 tbsp ginger minced
- 2 tbsp sesame oil divided
- ½ cup soy sauce divided
- 1 tsp gochujang/sriracha
- 1 tsp white pepper
- 1 tsp salt
- 1 tsp black pepper
- 1 tbsp hoisin sauce
- 1 tbsp oyster sauce
Instructions
- Rinse uncooked rice grains in cold water it runs clear. Add cleaned rice to a large put with 5 cups water, lime zest, and lime juice. Cover and cook on medium heat for 15-18 minutes, stirring occasionally to ensure it does not burn on the bottom.*
- Leave rice to cool and dry completely in the pot for 4 hours, or put in in the fridge for 2-3 hours… or the freezer for 1 hour.
- Roughly chop bell peppers, snow peas, and baby corn (or whatever vegetables you choose to use). Set aside.
- Heat 1 tbsp sesame oil in a wok or large skillet pan on the highest heat setting. When hot, add ginger, garlic, gochujang/sriracha, white pepper, salt, and ¼ cup soy sauce. Mix until combined.
- Add shrimp to hot wok or skillet pan and cook until pink all the way through, about 5 minutes.
- Remove shrimp and set aside in a bowl, leaving all remaining juices and sauce in the wok/pan.
- Add chopped vegetables and slaw mix to wok/pan. Stir fry for 1-2 minutes, until colors have brightened and vegetables have crisped.
- Push all vegetables to one side of the wok/pan, leaving an open space. Crack 4 eggs into the open space and immediately scramble. Cook until firm and opaque, 1-2 minutes.
- Return shrimp to wok/pan and mix vegetables, eggs, and shrimp. Add cooled rice and mix until all are combined. Continue tossing for 1-3 minutes, or until rice has reheated completely.
- Remove pan/wok from heat.
- Add black pepper, hoisin sauce, oyster sauce, remaining ¼ cup soy sauce, and remaining 1 tbsp sesame oil to the pan/wok. Mix until sauce has evenly distributed throughout the dish and the rice has turned a dark brown color.
- Serve and top with additional soy sauce and sriracha, if desired.
Notes
- *You kind of have to babysit rice if you don’t have a rice cooker. It can go from “raw rice soup” to “setting off the fire alarm” in like 2 minutes, so be vigilant.
- ** If you try to stir fry hot, wet rice, it will turn to mush and you’ll have something the consistency of porridge. Yikes!
The post Shrimp Fried Rice Meal Prep appeared first on I Forgot Salt!.
]]>